WYŚWIETLACZ Panel sterowania oferuje kilka funkcjonalności: możesz łatwo ustawić
adresowanie DMX, włączyć gotowe programy lub zresetować urządzenie. Menu
główne jest dostępne po naciśnięciu przycisku Mode. Możesz się poruszać w
menu za pomocą przycisków Up oraz Down.
Naciśnij Enter, aby wybrać pożądany tryb.
Możesz zmienić wybór naciskając Up oraz Down. Potwierdź każdorazowo nowy
wybór naciskając Enter.
Możesz opuścić tryb naciskając Mode. Funkcje urządzenia są opisane w dalszej
części instrukcji.
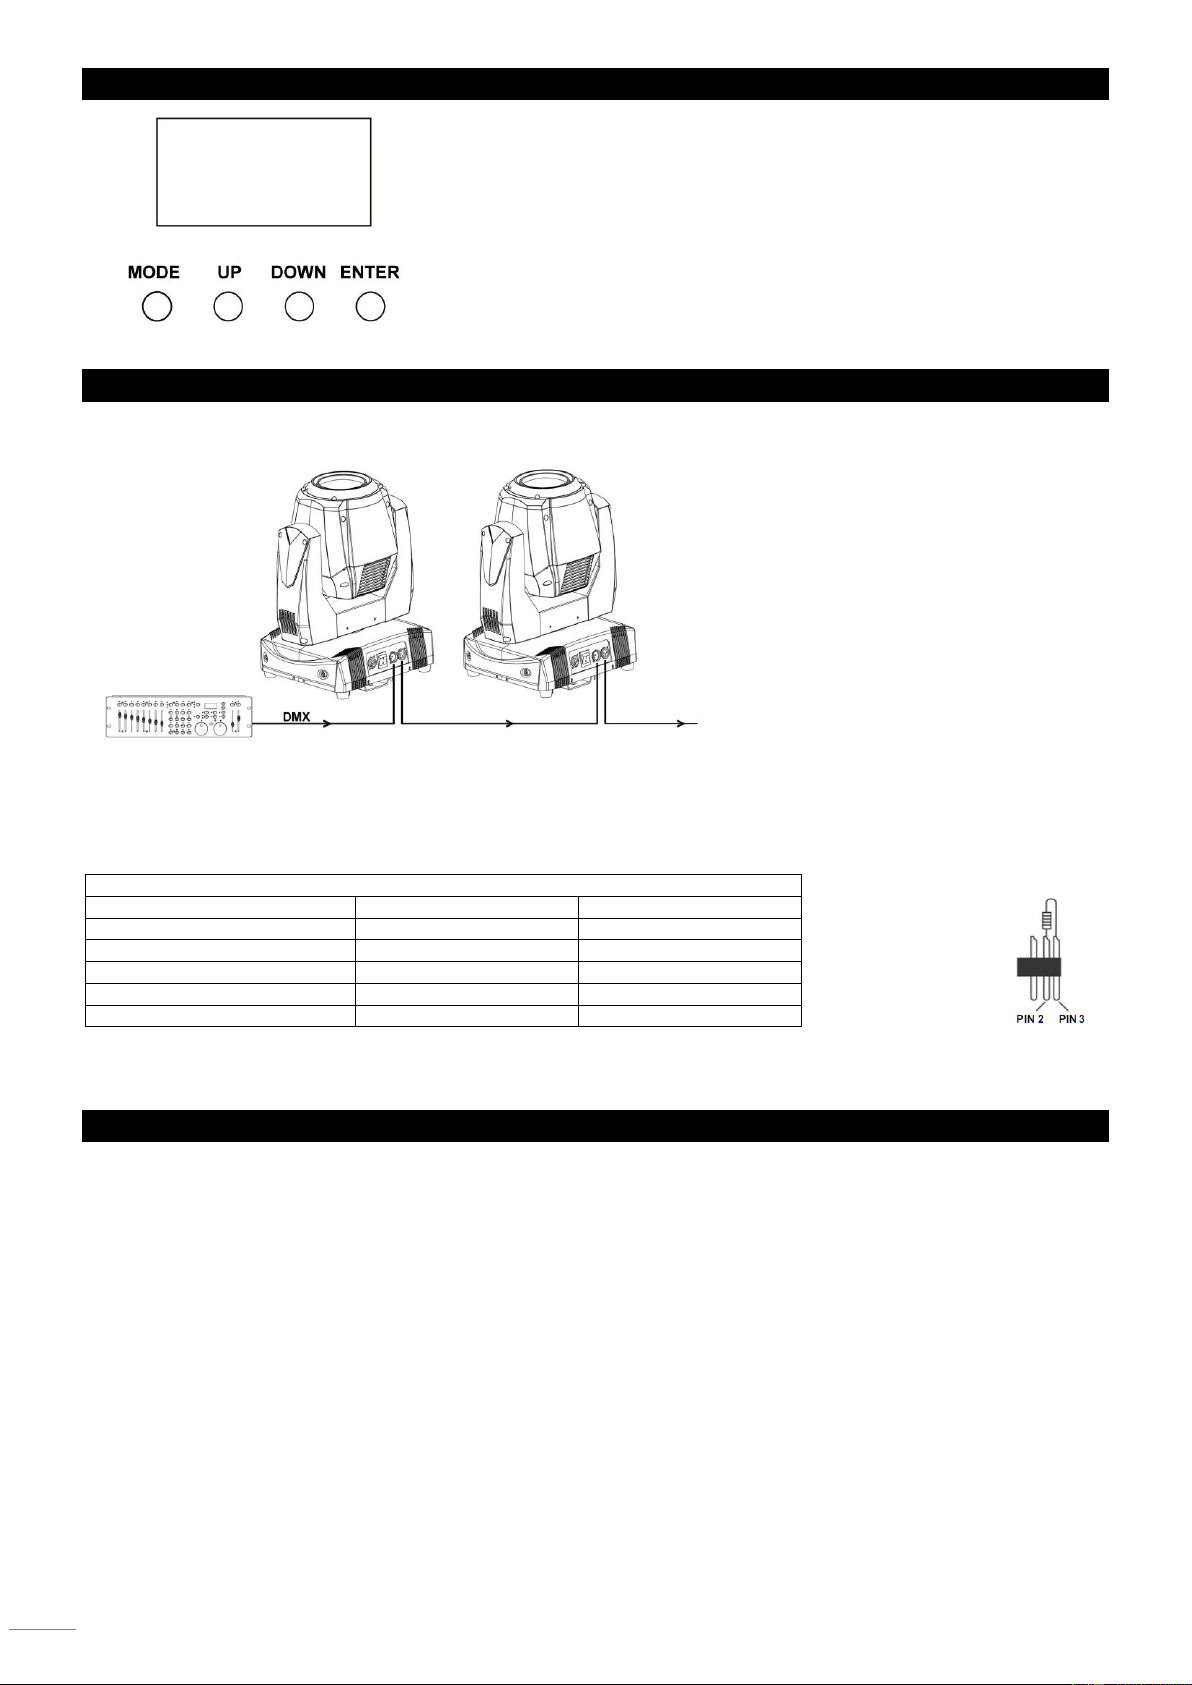
POŁĄCZENIE DMX512
Jeśli używasz standardowego sterownika DMX, możesz podłączyć pierwsze urządzenie w łańcuchu do wyjścia DMX w
sterowniku. Zawsze podłączaj urządzenia w łańcuchu DMX szeregowo (jak na poniższym obrazku).
Złącza 5-pin XLR DMX.
Niektórzy producenci używają 5-pinowych gniazd DMX zamiast gniazd 3-pinowych. Takie urządzenia mogą być podłączone do
standardowego łańcucha DMX. Trzeba zastosować jednak specjalny adapter. Tabelka poniżej wyjaśnia prawidłową konwersję
sygnału z wtyku 5-pinowego na wtyk 3-pinowy.
W ostatnie urządzenie w łańcuchu DMX musi być wpięty terminator. Terminator jest to wtyk XLR, w którym 2 oraz 3 pin są
połączone ze sobą opornikiem 120 Ohm.
TRYB MASTER/SLAVE
Tryb Master/slave
Urządzenia w “Show Mode” mogą być połączone w łańcuch i ustawione w trybie master/slave, w którym głowica w trybie master
kontroluje zachowanie głowic w trybie “slave”
Dostępne są dwa tryby pracy slave:
• Ruchoma głowa w trybie Slave 1 odwzorowuje dokładnie pracę urządzenia z trybu master.
• Ruchoma głowa w trybie Slave 2 synchronizuje się z trybem master, ale zachowuje różnego rodzaju własne wariacje w
obrębie narzuconego programu.
Wszystkie urządzenia z wyjątkiem jednego należy ustawić w tryb slave. Jeśli więcej niż w jednej głowicy zostanie przypisana
funkcja master, może to spowodować uszkodzenie urządzeń I jest równoznaczne z utrata gwarancji.
By ruchome głowy działały w trybie master/slave:
1. Połącz sprzęt w łańcuch używając przewodu DMX (łączenie pomiędzy DMX OUT jednego urządzenia, a DMX IN kolejnego
itd.)
2. W menu MASTER/SLAVE ustaw jedno urządzenie jako MASTER a pozostałe jako SLAVE 1 bądź SLAVE 2.
3. Ustaw urządzenie MASTER w jeden z czterech zaprogramowanych automatycznych programów.
4. Ustaw wszystkie urządzenia w tryb SLAVE 1 lub SLAVE 2.