25
Registrazione mediante il menu a
video
Usare il menu per impostare una registrazione
programmata con il timer. Inserire il
dispositivo, l’ora di inizio e l’ora di arresto
della registrazione. Si potranno programmare
sino a 6 registrazioni programmate con il
timer.
Controllo delle registrazioni già
programmate
È possibile controllare, modificare ed eliminare
le registrazioni in attesa di essere eseguite. Se
le registrazioni programmate si
sovrappongono, ciò è segnalato al momento
della memorizzazione e visualizzato
nell’elenco delle registrazioni.
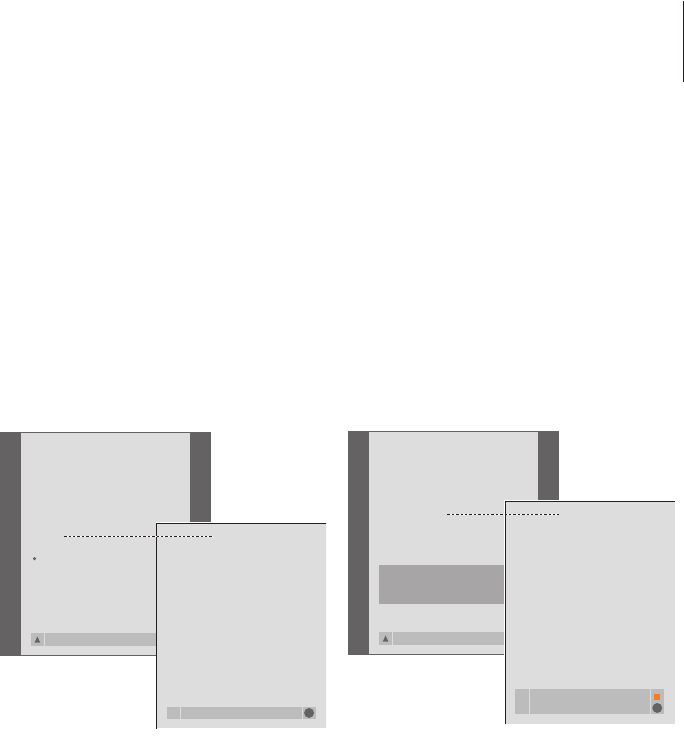
Per inserire la videocassetta per la
registrazione...
> Trovare la pagina di televideo desiderata.
> Premere RECORD per selezionare un programma
da registrare o utilizzare i tasti
tt
per spostarsi su
REC nella barra menu del televideo e premere
quindi GO.
> Premere
▲
o
▼
per passare all’ora di avvio o al
titolo del programma corrente.
> Premere GO per selezionare l’ora di inizio o
semplicemente per selezionare il titolo del
programma.
> Se necessario, premere GO per selezionare l’ora
di arresto, quest’ultima potrà essere cambiata
premendo
▼
e includere due o tre programmi di
seguito.
> Controllare la linea di stato della registrazione, se
necessario utilizzare
▲
o
▼
oppure i tasti
numerici per modificare e
ss
o
tt
per spostarsi tra
i dati inseriti.
> Premere GO per memorizzare la registrazione
programmata con il timer. Il messaggio
PROGRAMMING STORED sta a indicare che i dati
relativi alla registrazione sono stati memorizzati.
Inoltre è possibile richiamare il menu per effettuare
una registrazione programmata mediante menu
utilizzando il menu principale SETUP per il
dispositivo interessato, ad esempio TV, oppure il
menu principale SETUP per V.TAPE.
Per inserire la videocassetta pronta per la
registrazione...
> Premere TV per accendere il televisore o SAT per
accendere il set-top box, se disponibile.
> Premere RECORD su Beo4 per richiamare il
menu di registrazione.
> Premere
▼
fino alla visualizzazione di MENU.
> Premere GO per richiamare il menu per
l’impostazione di una registrazione programmata
con il timer. START TIME è già evidenziato.
> Usare i tasti numerici
ss
o
tt
per immettere le
informazioni richieste per la registrazione
programmata; orario di fine, data, differente
numero di programma se necessario e
attivazione della funzione PDC/VPS, se
disponibile.
> Premere
▲
o
▼
per scorrere le opzioni di menu.
> Premere GO per memorizzare la registrazione.
> Premere
▲
per tornare ai menu precedenti
oppure premere EXIT per uscire direttamente da
tutti i menu.
Se il menu supporta l’opzione PDC/VPS, impostarla
su OFF o su AUTO. L’opzione selezionata sarà
valida solo per questa particolare registrazione. Per
ulteriori informazioni sui sistemi e sulle registrazioni
PDC e VPS consultare la Guida d’uso di BeoCord
V 8000.
> Premere RECORD per richiamare il menu di
registrazione.
> Premere
▼
finché è evidenziato RECORD LIST.
> Premere GO per visualizzare l’elenco delle
registrazioni.
> Premere
▼
o
▲
per evidenziare una
registrazione.
Per modificare una registrazione evidenziata...
> Premere GO per poter modificare la
registrazione.
> Premere
ss
o
tt
per modificare l’ora di inizio e di
fine della registrazione, la data o il numero
programma.
> Premere
▼
oppure
▲
per spostarsi fra le opzioni.
> Premere GO per memorizzare la registrazione e
tornare all’elenco.
Per eliminare una registrazione evidenziata...
> Premere il pulsante giallo per eliminare la
registrazione.
> Premere di nuovo il pulsante giallo per
confermare oppure premere
ss
per rimetterla
nell’elenco.
> Selezionare un’altra registrazione da cancellare o
premere EXIT per uscire da tutti i menu.
Le registrazioni che si sovrappongono vengono
indicate da OVERLAP. Un puntino rosso segnala
quali registrazioni si sovrappongono.