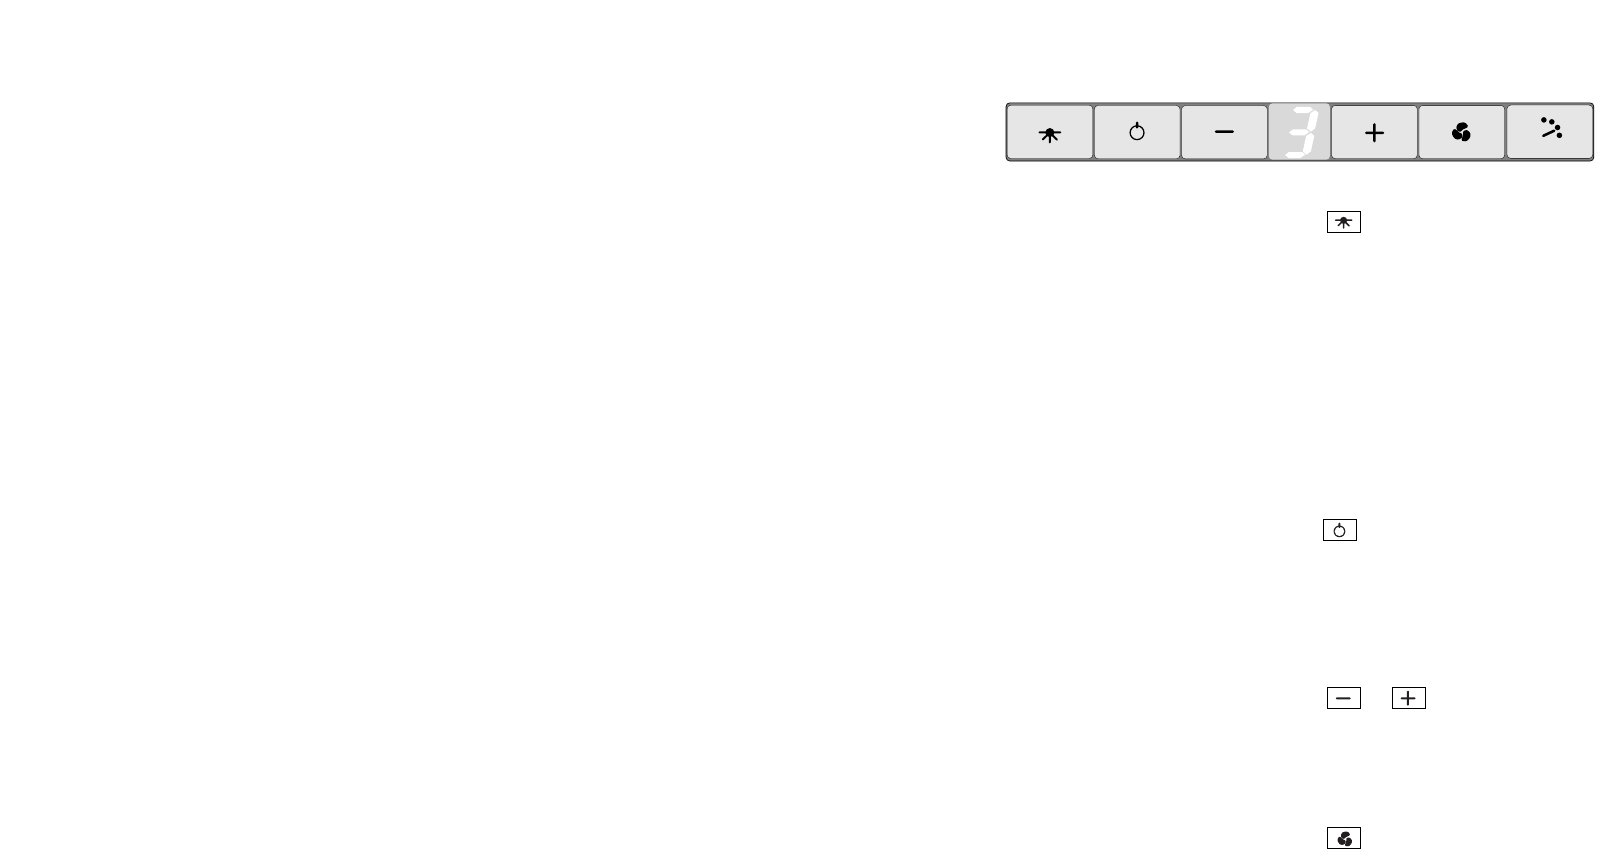
108613
20
Zoom out
Zoom in
Previous page
1/34
Next page
FR 3
éclairage
mise en/hors service de l'électricité
Appuyez sur la touche pour l'éclairage.
Le témoin lumineux au-dessus de la touche s’allume.
L'éclairage va s'enclencher.
Appuyez une troisième fois pour éteindre la lumière. Le
témoin lumineux sur la touche va s'éteindre.
mise en service du ventilateur
Appuyez sur la touche .
La hotte se met en marche sur la position programmée. La
position 1, 2 ou 3 s'affiche sur l'écran.
réglage de la capacité d'aspiration
Appuyez sur la touche ou .
Le chiffre affiché sur l'écran indique la position.
position intensive
Appuyez sur la touche .
Le témoin lumineux au-dessus de la touche s’allume.
La position 4 s'affiche sur l'écran.
ventilateur
FR 2
sécurité avant tout
points d'attention
Le branchement de l'appareil doit être fait par
un installateur agréé. La garantie ne couvre pas
les dommages causés par un branchement
erroné.
Avant de réparer ou de nettoyer l'appareil,
couper le courant. De préférence, débranchez
la prise ou mettez l’interrupteur sur zéro.
Ne jamais faire flamber de préparation sous la
hotte aspirante. Les flammes élevées risquent
de provoquer un incendie. Même si le
ventilateur est éteint.
Il est recommandé de rester sur place et
surveiller la friture.
Si l'appareil est utilisé combiné à un appareil
fonctionnant au gaz ou avec un autre
combustible, veillez à une admission d'air frais
suffisante.
Actionnez la hotte avant de commencer la
cuisson. Après cuisson, attendez encore 10
minutes environ avant d'arrêter la hotte. Ceci
peut se faire automatiquement (voir "fonction
arrêt différé à durée préprogrammée").
Nettoyer l'appareil régulièrement, comme
indiqué dans "entretien". Ceci évite les risques
d'incendie.
Avant de changer une ampoule, toujours
débrancher l'appareil! N'utiliser que des
ampoules semblables à celles d'origine et avec
le même voltage.
Les bords de la gaine pouvant être pointus,
nous vous conseillons de mettre des gants de
travail avant de procéder au montage de la
gaine.
20


Need help? Post your question in this forum.

Forumrules


Report abuse

Libble takes abuse of its services very seriously. We're committed to dealing with such abuse according to the laws in your country of residence. When you submit a report, we'll investigate it and take the appropriate action. We'll get back to you only if we require additional details or have more information to share.

Product:

For example, Anti-Semitic content, racist content, or material that could result in a violent physical act.

For example, a credit card number, a personal identification number, or an unlisted home address. Note that email addresses and full names are not considered private information.

Forumrules

To achieve meaningful questions, we apply the following rules:

Register

Register getting emails for ATAG WS 9011 HM at:


You will receive an email to register for one or both of the options.


Get your user manual by e-mail

Enter your email address to receive the manual of ATAG WS 9011 HM in the language / languages: English, German, Dutch, French as an attachment in your email.

The manual is 1,88 mb in size.


You will receive the manual in your email within minutes. If you have not received an email, then probably have entered the wrong email address or your mailbox is too full. In addition, it may be that your ISP may have a maximum size for emails to receive.

The manual is sent by email. Check your email

If you have not received an email with the manual within fifteen minutes, it may be that you have a entered a wrong email address or that your ISP has set a maximum size to receive email that is smaller than the size of the manual.

The email address you have provided is not correct.

Please check the email address and correct it.

Your question is posted on this page

Would you like to receive an email when new answers and questions are posted? Please enter your email address.


Info