11
installation island hood
The key dimensions are indicated on page 9.
Set the height of the telescopic pipe within
the allowable range.
It is advisable to suspend the hood with the
help of an assembly lift. If there is no lift
present, it is advisable to carry out the
mounting with more than one person.
Position the discharge and the electrical
connection in such a way that it will be easy
to hook up the hood.
hanging telescopic pipe
- Determine the length of the telescopic
pipe. Remember the minimum height
above the hot plate.
- Slide the two parts together. Adjust the
length of the telescopic pipe.
- Mark the fixing holes on the side of the
telescopic pipe.
- Drill the 4 fixing holes (3,7 mm).
- Slide the parts together with the self-
tappers.
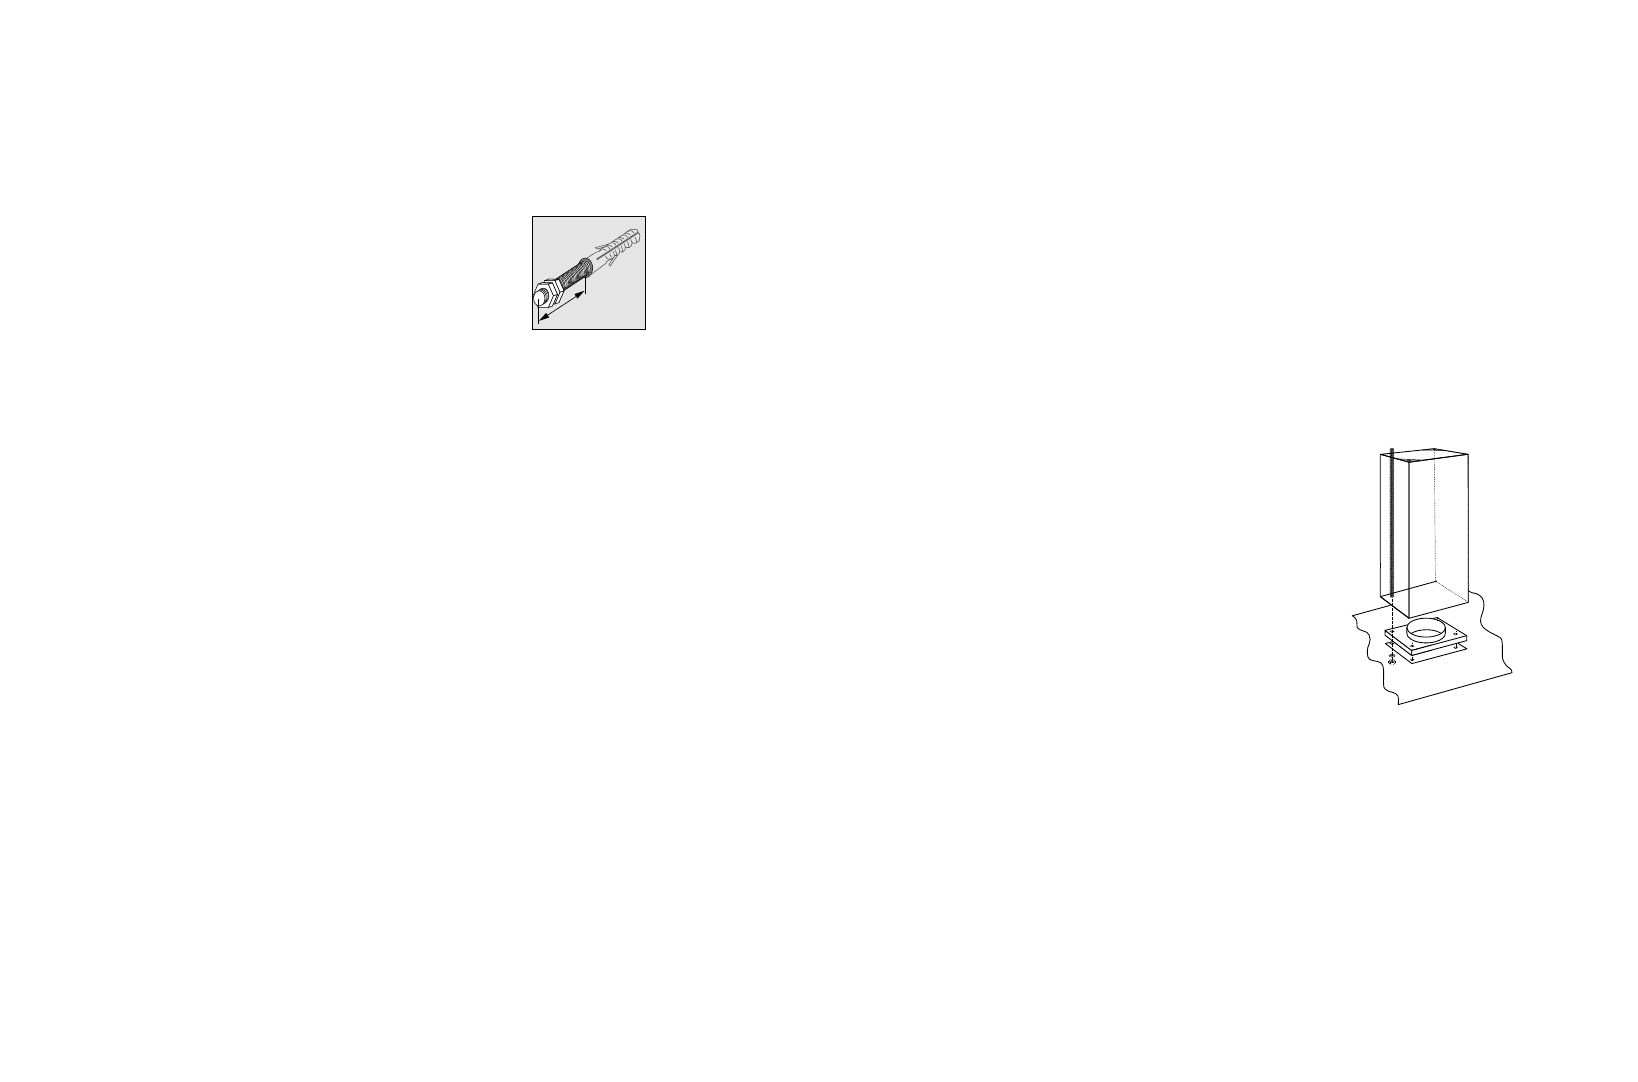
mounting extractor hood
- Mark the mounting holes on the ceiling
with the help of the template.
- Drill the holes (4 x 10 mm).
- Fix the plugs, bolts and threaded bushes
to the ceiling.
- Cut the threaded rods to length.
L= length of telescopic pipe + 25 mm.
- Screw the threaded rods into the bushes
and secure them with a nut.
- Slide the telescopic pipe over the
threaded rods and fix the telescopic pipe
securely with the nuts supplied.
- Fit the connection cable and the
discharge hose and slide the extractor
hood over the threaded rods.
- Secure the extractor hood with the thin
nuts M8 and then with the thick nuts M8.
- Fit the filter frame and secure it with the
wing nuts.
installing filter
- Attach the filters to the safety chain and
clamp them into the filter frame.
10
installation wall hood
The key dimensions are indicated on page 9.
Set the height of the telescopic pipe within
the allowable range.
Position the discharge and the electrical
connection in such a way that it will be easy
to hook up the hood.
marking and mounting attachment
frame
- Draw a centre line on the wall (middle of
the hood).
- Place the fastening clip against the wall
so that it rests against the ceiling. The
arrow on the flanged rim indicates the
middle of the cooker hood. Mark the
attachment holes to be drilled.
- Drill the holes (8 mm).
- Insert the plugs and fasten the mounting
plate to the wall.
marking and assembling the hood
- Mark the holes to be drilled on the wall
by means of the stencil and drill the
holes.
- Insert plugs. Twist two nuts in the
opposite direction on the ends of the
studs and twist the studs about 20 mm
into the wall. Remove the nuts.
- Position the hood on the bolts. Fasten
washers and nuts and adjust the hood.
- Attach the connecting cable and
discharge hose from the inside (does not
apply to recirculation hoods). Make sure
the connecting cable is not pinched or
folded.
- Make the necessary plug and socket
connections.
hanging the telescopic pipe
- Push the flanged rim of the upper
telescopic pipe from the bottom in
between the fastening clip and push the
telescopic pipe up against the ceiling (the
telescopic pipe fixes itself).
- Bend the sides of the lower telescopic
pipe a little bit towards the outside and
clasp it over the upper telescopic pipe.
Push the lower telescopic pipe
downwards until it connects up the hood.