111
Recording a programme
The appliance is equipped with a memory function. This function
enables you to programme cooking settings and associated cooking times
for each cooking zone.
1. Switch the appliance on.
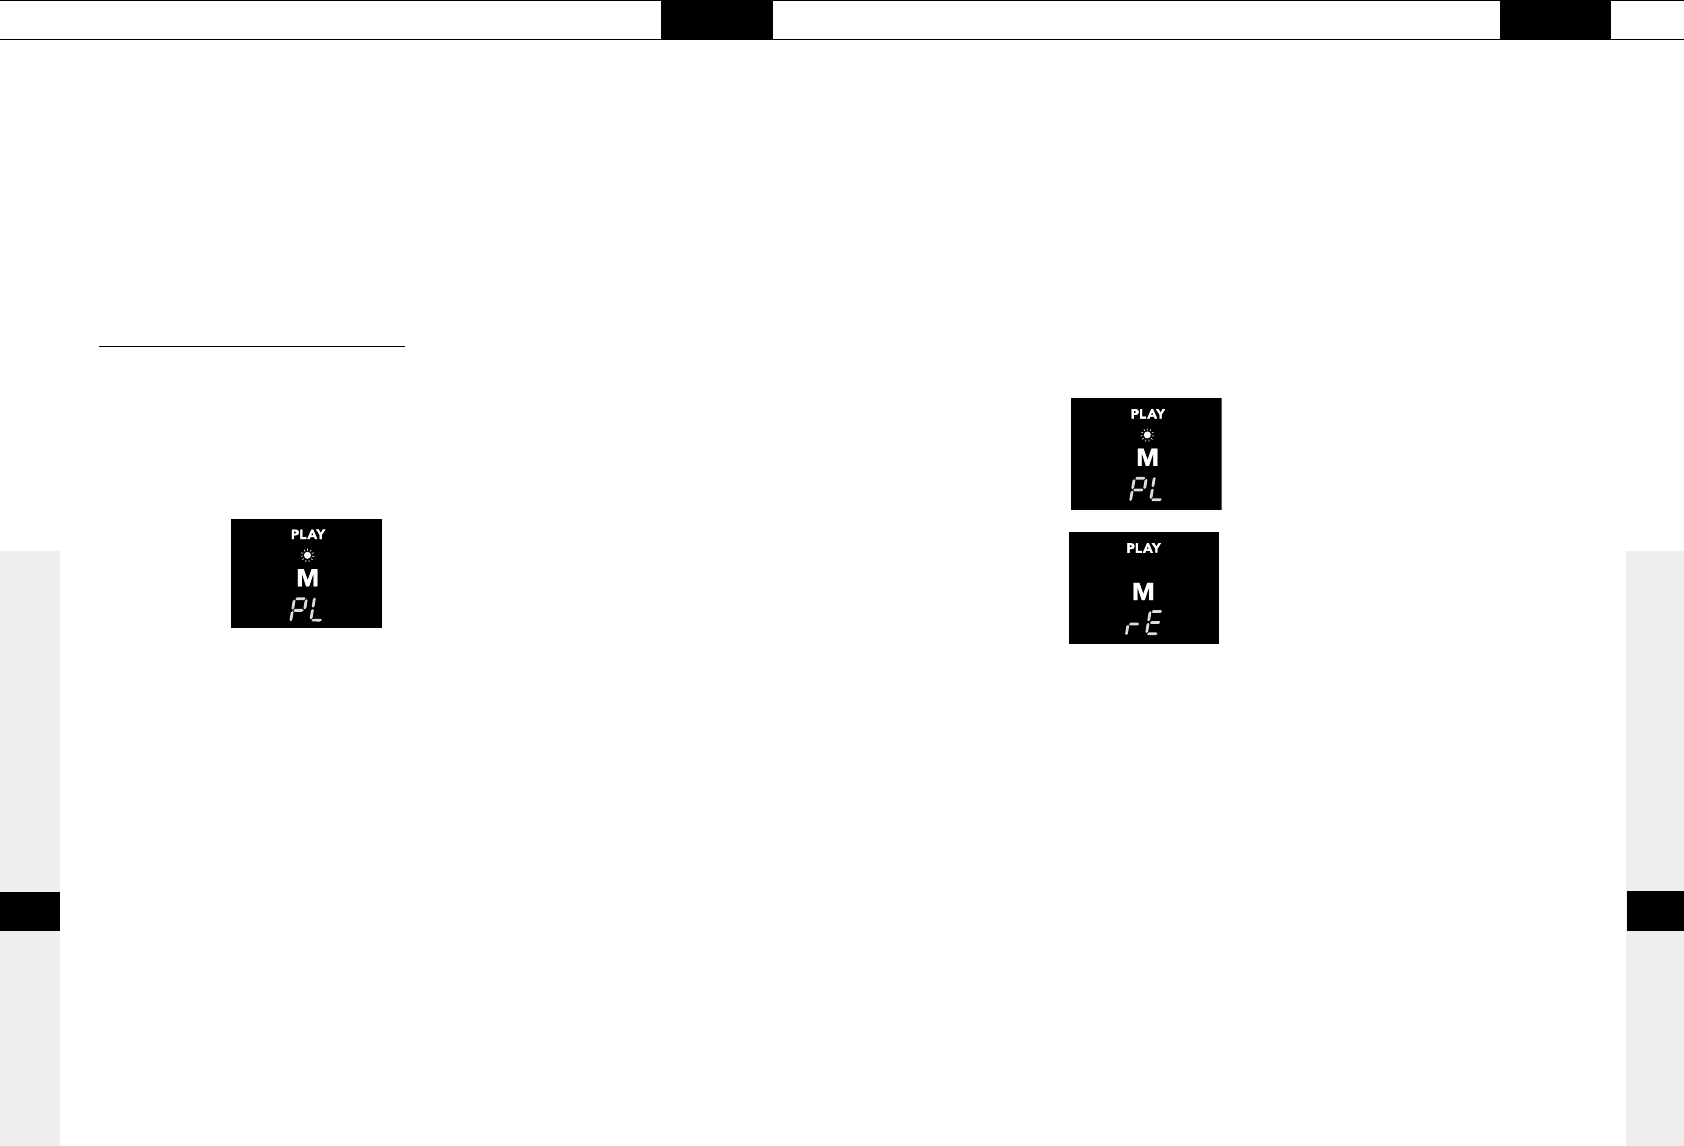
2. Press the memory button (M) for 6 seconds. After 3 seconds a light
will come on above the memory button and PL (play) will appear in
the cooking timer display. After 3 seconds this will change to rE
(record) and the light above the memory button will go out.
3. Set the desired start setting for the cooking zone that you want to
programme. You can then cook on this cooking zone. All the settings
that you enter, and the intervening times, will be automatically stored.
You can even switch the cooking zone off or switch the second ring on
or off. You can record a maximum of 40 settings.
4. Close the programme by pressing the memory button (M). The
programme has now been recorded.
The selected cooking settings and cooking time are in the memory. The
programme is activated with the “play” function.
A maximum of one recording can be made per zone.
When you record a new programme, any existing recording is deleted.
USE
setting
110
You can also use the cooking timer without switching off the cooking
zone by following points 1 to 4. In that case the cooking timer will only
give an audible signal at the end of the set time.
Switch the cooking timer off by pressing the - button for a few seconds
(in the '0' minute setting).
Memory cooking: HL60..M and HL70..M
To run the programme (play):
1. Switch the appliance on;
2. Press the memory button (M) for 3 seconds. After 3 seconds a light
will come on above the memory button and PL (play) will appear in
the cooking timer display.
3. Select the cooking zone for which you want to run the programme by
pressing the + or - button for that cooking zone.
The cooking zone will switch on at the programmed cooking setting.
The total programme time can be seen in the timer display and counts
down. The light intensity of the display for the cooking zone on which a
programme is being run will fluctuate.
The cooking zones have a short factory programme, which is used to test
the appliance.
While running a programme you can increase or reduce the settings. The
programme will simply carry on running.
Switch the cooking zone off by pressing the memory button (M) again.
USE
setting