7-NL
Displaypatroon van het audioniveau wijzi-
gen (alleen voor CDA-9815RB/
CDA-9813R/CDA-9812RX)
U kunt voor het audioniveau uit drie displaypatronen kiezen.
U kunt het display ook uitschakelen.
Druk op de toets DISP/B.OUT om een ander dis-
playpatroon te kiezen.
Voor CDA-9815RB/CDA-9813R:
AUDIO ADJUSTMENT EQ ADJUSTMENT X-OVER
ADJUSTMENT OFF AUDIO ADJUSTMENT
Voor CDA-9812RX:
AUDIO ADJUSTMENT BASS ADJUSTMENT TREBLE
ADJUSTMENT OFF AUDIO ADJUSTMENT
De indicatoren tonen de waarde die in elke modus is ingesteld,
zoals hieronder weergegeven
.
AUDIOAFSTELLING
AFSTELLING
SCHEIDINGSFILTER
(X-OVER)
AFSTELLING
EQUALISER,
LAGE/HOGE TONEN
Niveau-
indicator
VOLUME NIVEAU NIVEAU
BALANS BREEDTE STEILHEID
FADER
SUBWOOFER*
FREQUENTIE FREQUENTIE
--
Breedte-
indicator
Frequentie-
indicator
Subwoofer-
indicator
*Alleen wanneer de subwoofer is ingesteld op ON
AUDIO-afstellingsdisplay
Voorbeeld voor CDA-9813R
VOLUME :18
BALANS : L6
FADER : F6
SUBWOOFER : 9 dB
Equalizer-afstellingsdisplay
(X-OVER)
Voorbeeld voor CDA-9813R
NIVEAU : +2
BREEDTE : 2
FREQUENTIE : 200 Hz
Afstellingsdisplay schei-
dingsfilter (X-OVER)
Voorbeeld voor CDA-9813R
NIVEAU : -7 dB
STEILHEID : 2 (-12 dB/oct)
FREQUENTIE : 2 k
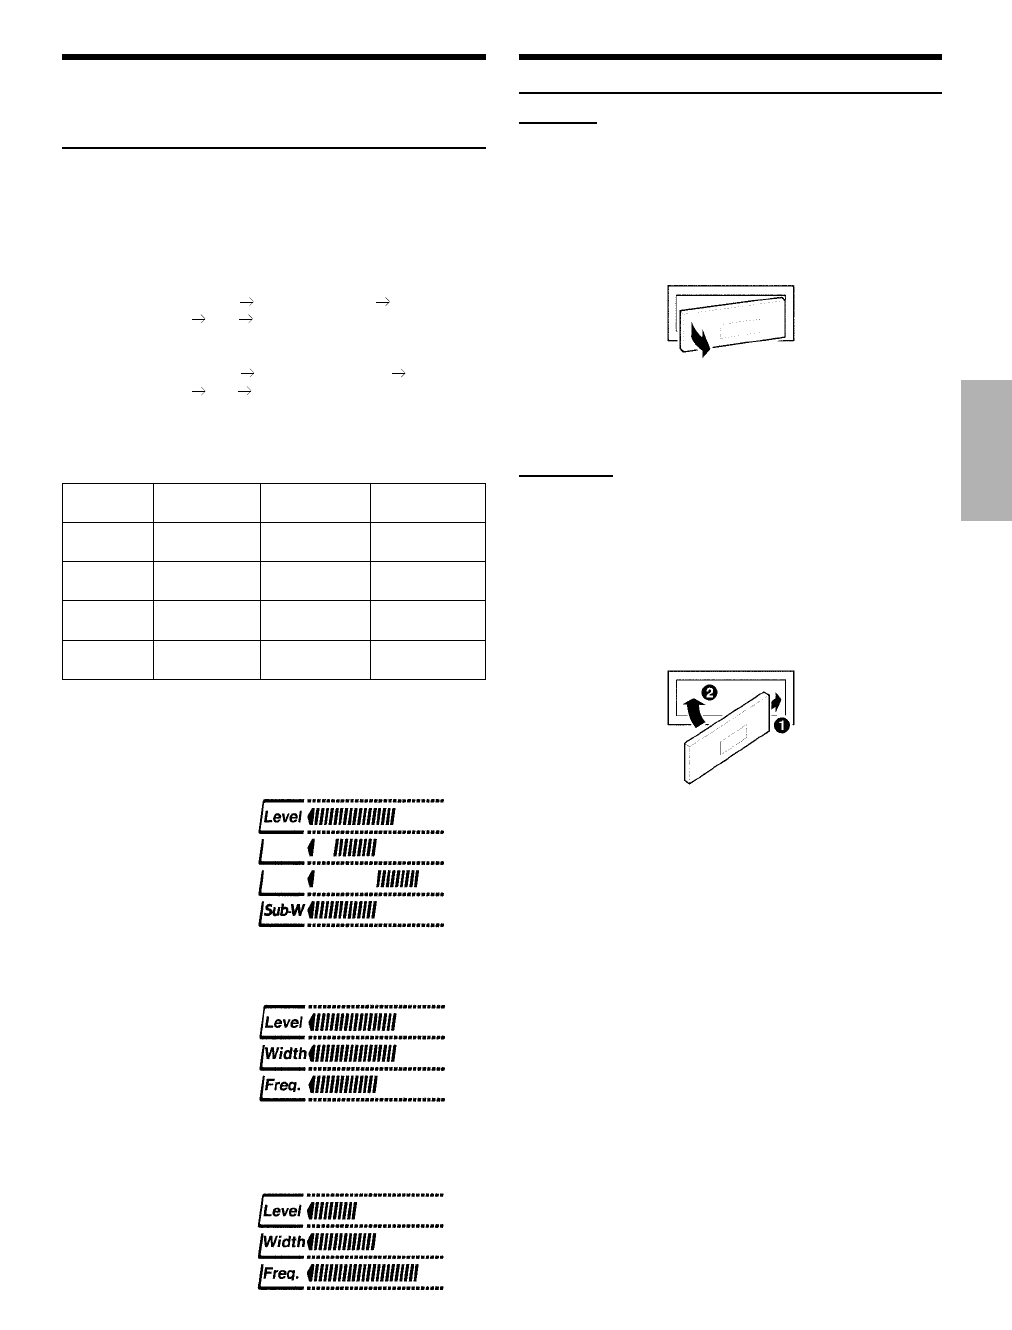
Frontpaneel afnemen en aanbrengen
Afnemen
Aanbrengen
1 Schakel het toestel uit.
2 Druk op de ontgrendelingsknop
00
links
bovenaan tot het frontpaneel losspringt.
3 Neem het frontpaneel vast aan de linkerzijde
en verwijder het.
1 Plaats de rechterzijde van het frontpaneel in
het ingebouwde toestelgedeelte. Breng de
groef op het frontpaneel overeen met de
uitstekende gedeelten op het ingebouwde
toestelgedeelte.
2 Druk op de linkerzijde van het frontpaneel tot
het vastklikt in het ingebouwde toestelgedeelte
.
• Het frontpaneel kan erg warm worden bij normaal gebruik (in het
bijzonder de aansluitklemmen aan de achterzijde van het frontpaneel.)
Dit wijst niet op een defect.
• Plaats het frontpaneel in het meegeleverde draagetui om het te
beschermen .
• Alvorens het frontpaneel aan te brengen moet u controleren of er zich
geen vuil of stof op de aansluitklemmen bevindt en er geen vreemd
voorwerp tussen het frontpaneel en het ingebouwde toestelgedeelte zit.
• Bevestig het frontpaneel voorzichtig door het aan de zijkanten vast te
houden, om te vermijden dat u per ongeluk op de toetsen drukt.