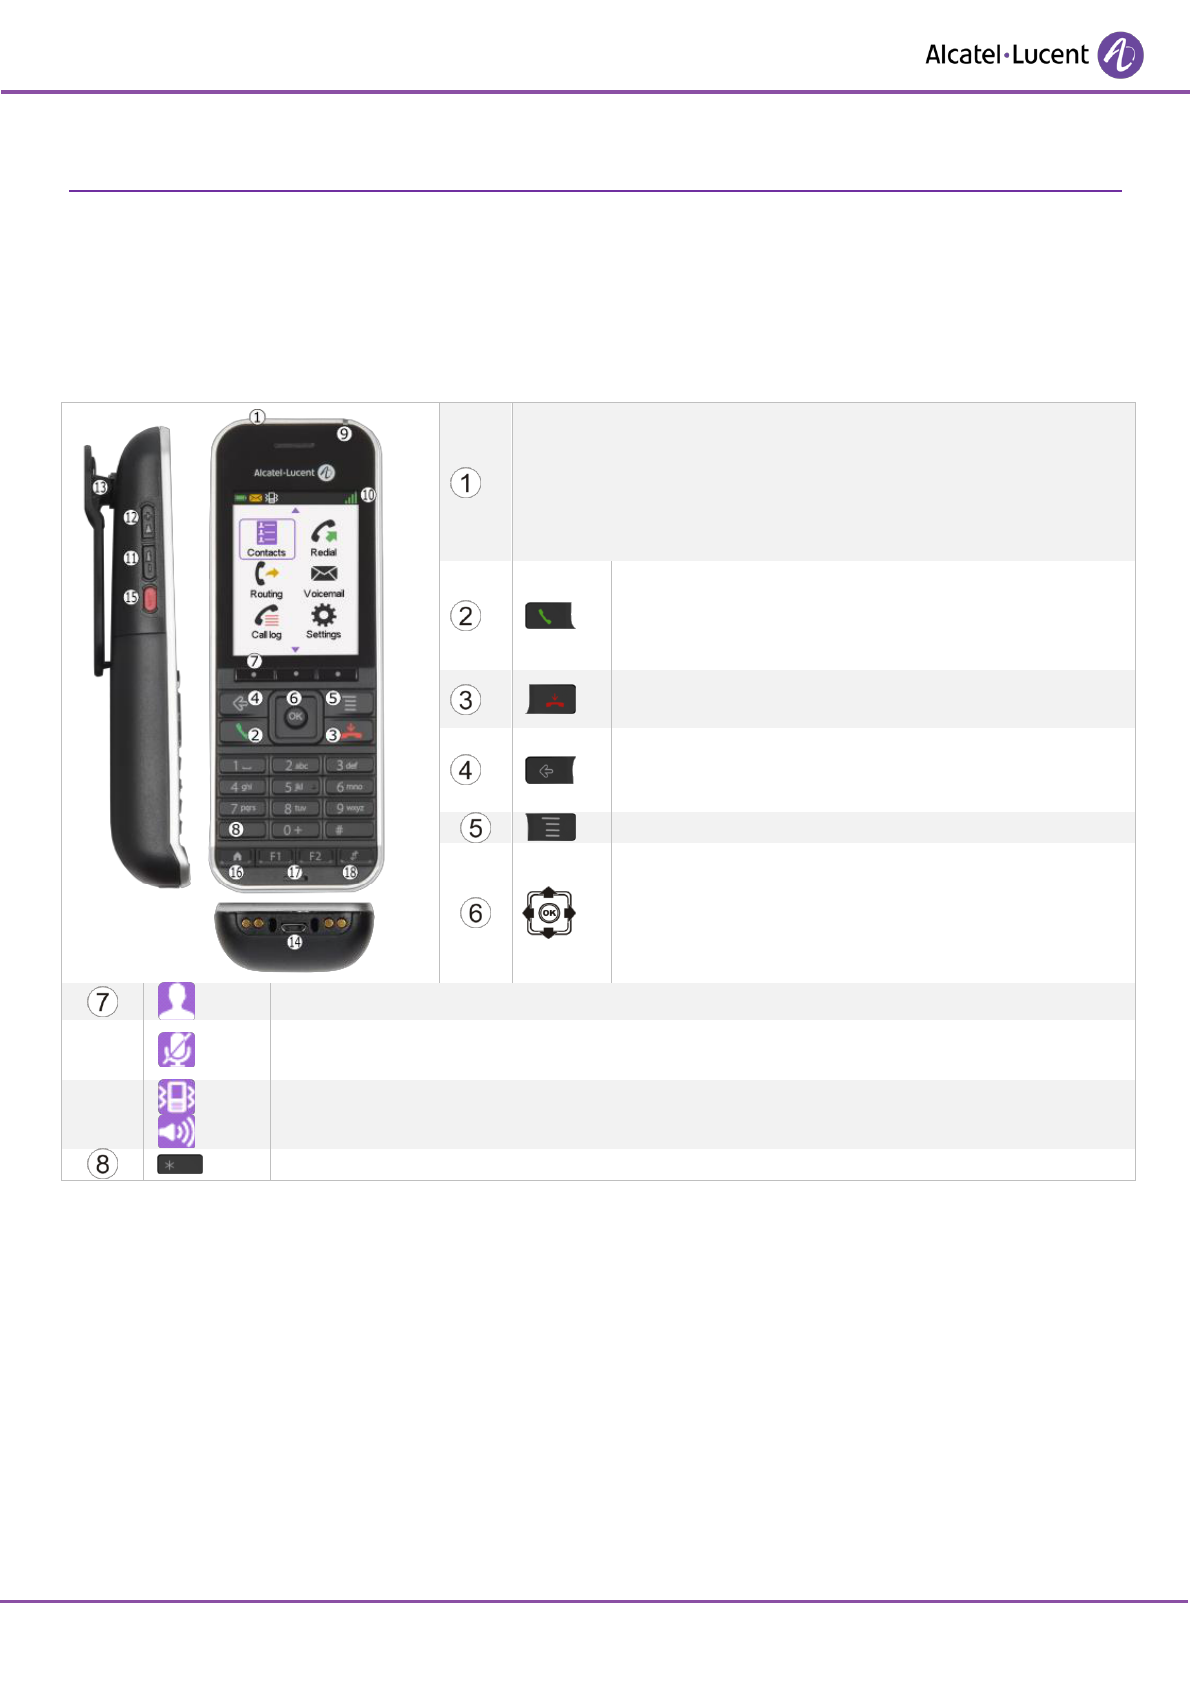
This document describes the services offered by the 8242 DECT Handset connected to an OmniPCX
Enterprise system.
Operating conditions
This approved DECT telephone is intended to be used with an ALE International cordless PABX. The
following conditions must be respected, notably concerning the use of radioelectric frequencies:
• Changes or modifications to the equipment not expressly approved by the party responsible for
compliance could void the user's authority to operate the equipment.
• To limit the risk of interference, people with pacemakers must keep the wireless telephone away
from their equipment (minimum distance of 15 cm/6 inches).
• It is recommended to follow the standard acceptance procedures before using this equipment in
human safety critical areas (hospitals...).
• DECT equipment can only be used to establish links between fixed points if these links are
temporary.
• The conditions of access to a DECT equipment telepoint network shall be stipulated by contract with
the operator of the authorized telepoint network concerned.
• Do not expose your telephone to severe conditions (rain, sea air, dust, etc.).
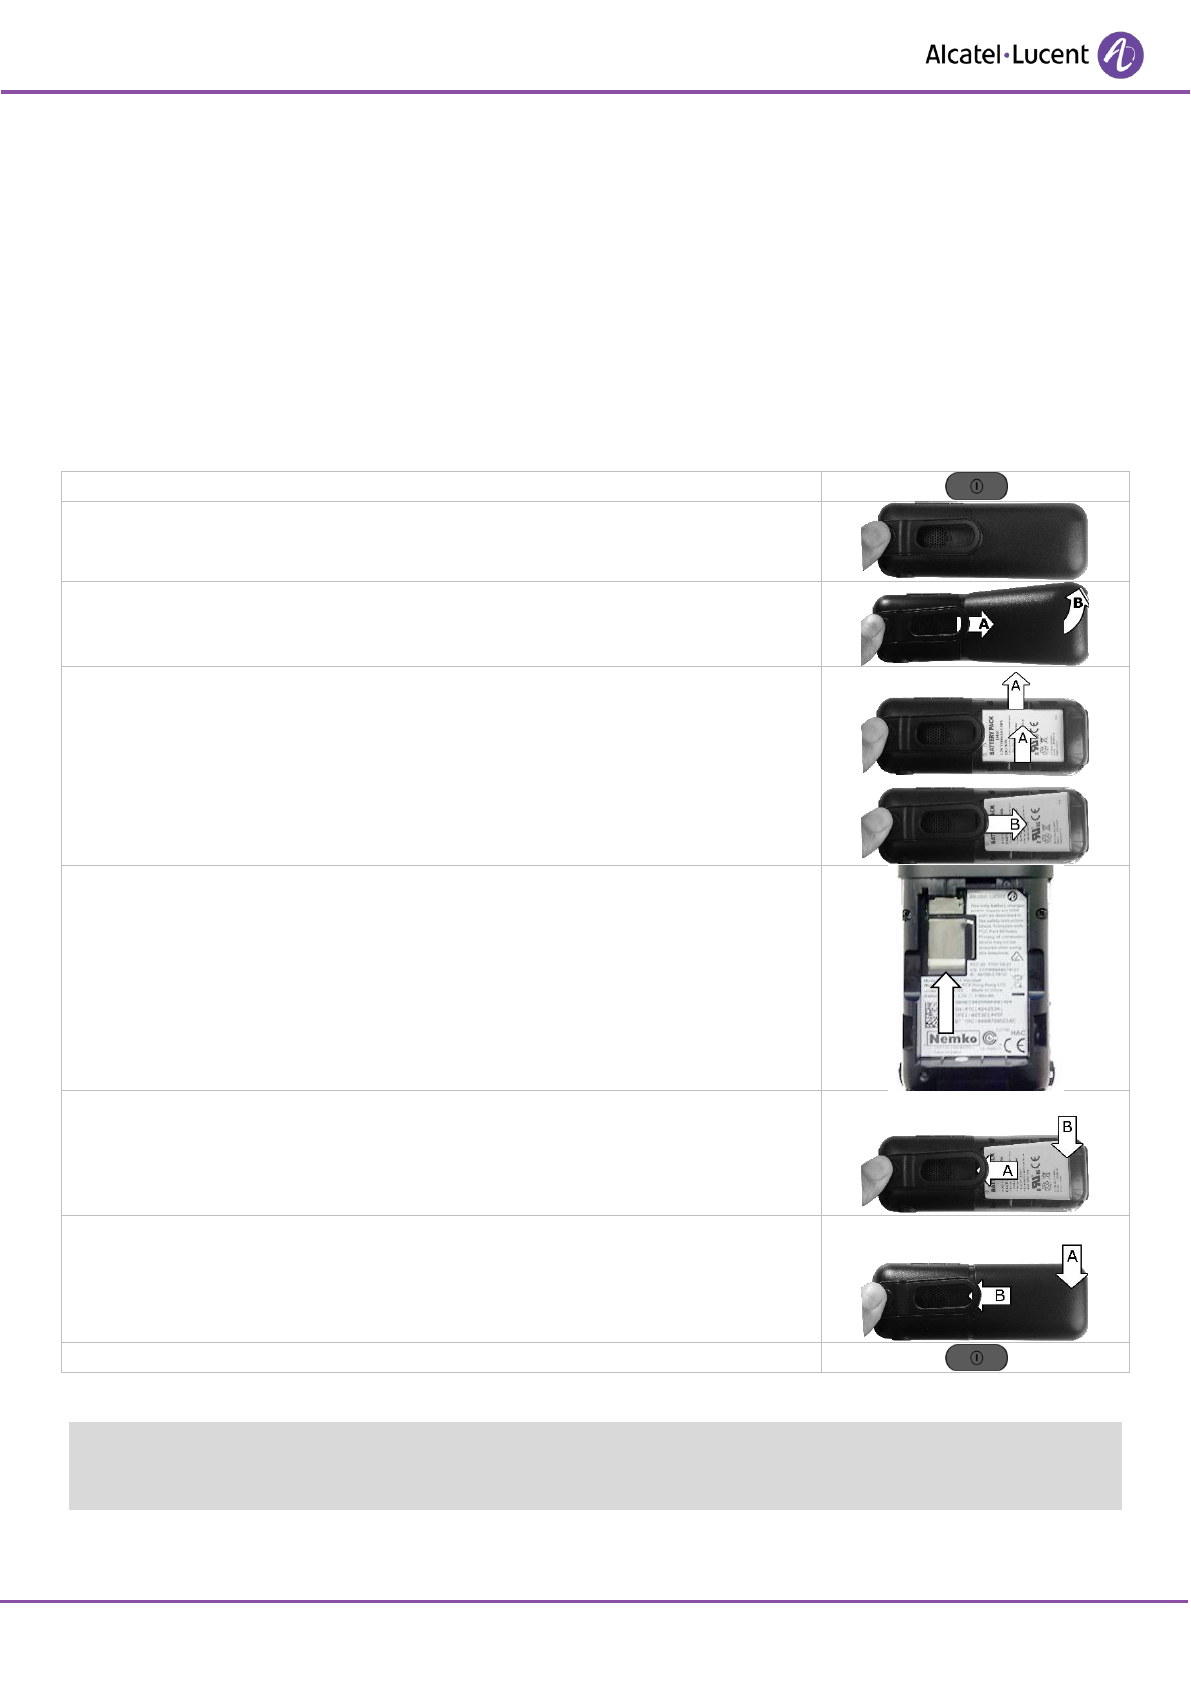
• Switch off the telephone before changing the battery.
• You must not switch on or use your telephone near gas or inflammable liquids.
• The headset includes magnetic elements that may attract sharp metallic objects.
• There is a danger of explosion if the battery is replaced incorrectly. Use only recommended battery
Alcatel-Lucent 3BN67332AA (Dongguan DRN New Energy Co. Ltd. RTR001FXX - Li-ion 3.7V
1100mAh 4.1Wh).
• The mains power socket used must be close to the charger/holder and easily accessible, so that it
can be used as an 'on/off' facility.
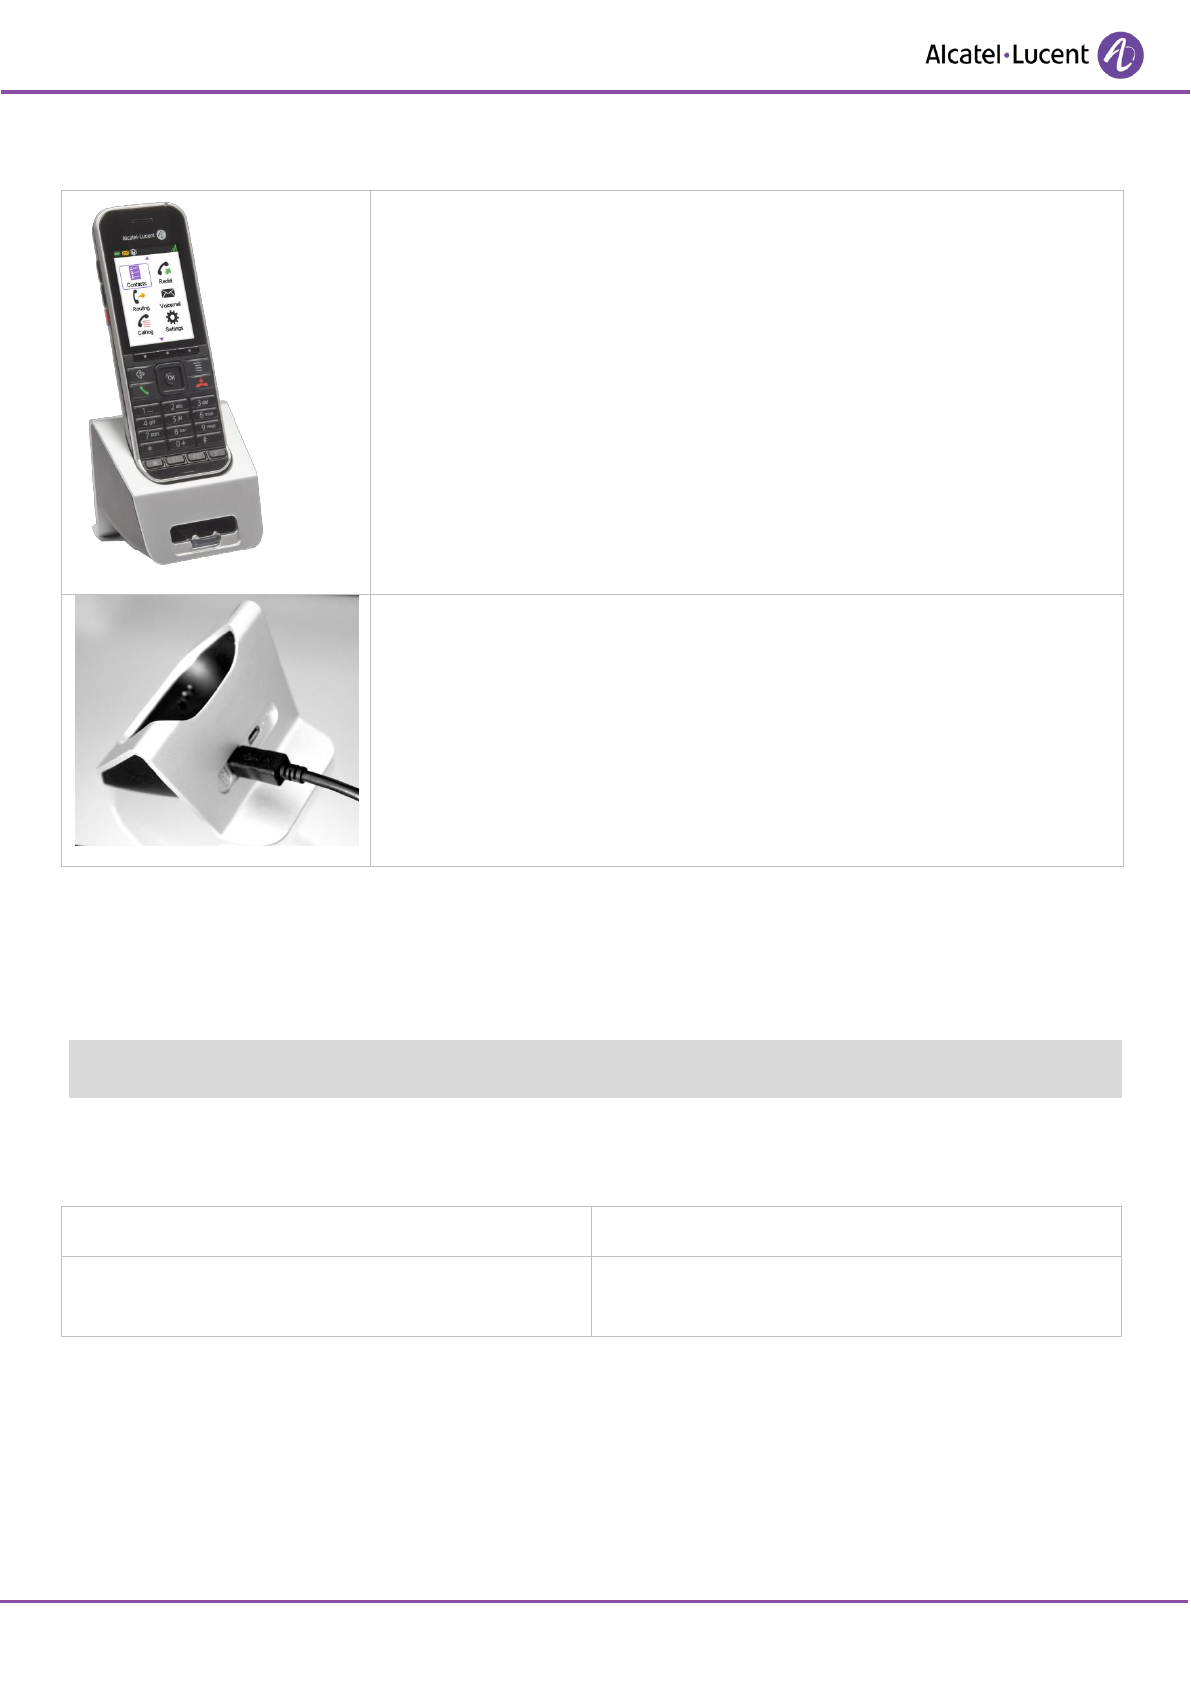
• Charge the battery for about 6 hours before initial use.
• Use the following 82x2 DECT Handset charging units:
o 8232 DECT Handset Desktop charger (3BN67331AA).
o 8232-8242 DECT Handset Desktop charger (3BN67331AB).
• With the following Power Supply Units:
- 8232 DECT Handset Desktop charger PSU Europe (3BN67335AA)
TenPao (Model S005AYV0500100) – efficiency level VI (rating I/P:AC 100-240V, 0.2A; O/P: DC
5V, 1A).
Friwo FW7713/XX – efficiency level V (rating I/P:AC 100-240V, 150mA; O/P: DC 5V, 1A).
- 8232 DECT Handset Desktop charger PSU WW (3BN67336AA)
TenPao (Model S008ACM0500100 with UK,US,AUS plugs) – efficiency level VI (rating I/P:AC
100-240V, 0.3A; O/P: DC 5V, 1A).
Friwo FW7712 - efficiency level V (rating I/P:AC 100-240V, 125mA; O/P: DC 5V, 0.9A).
• You can charge the device by connecting it to a USB 2.0 port (type A).
• To prevent possible hearing damage, do not listen at high volume levels for long periods.
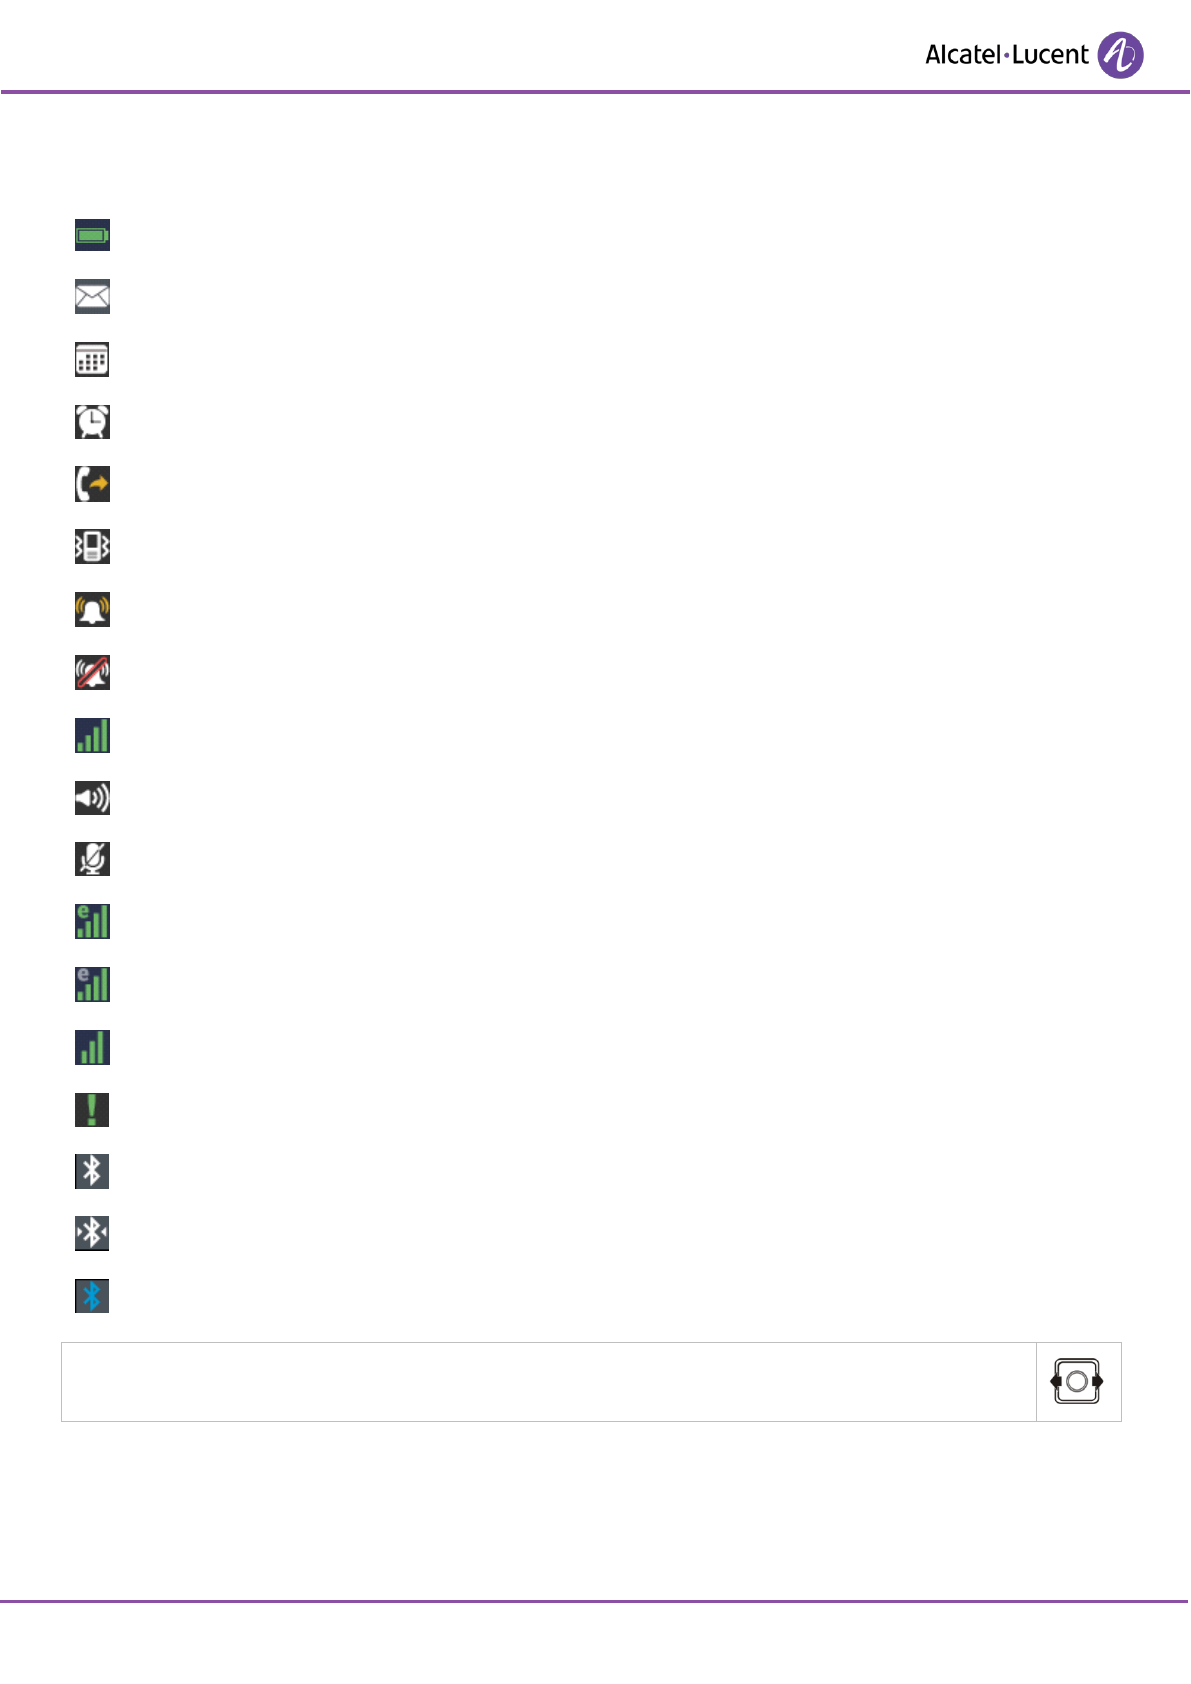
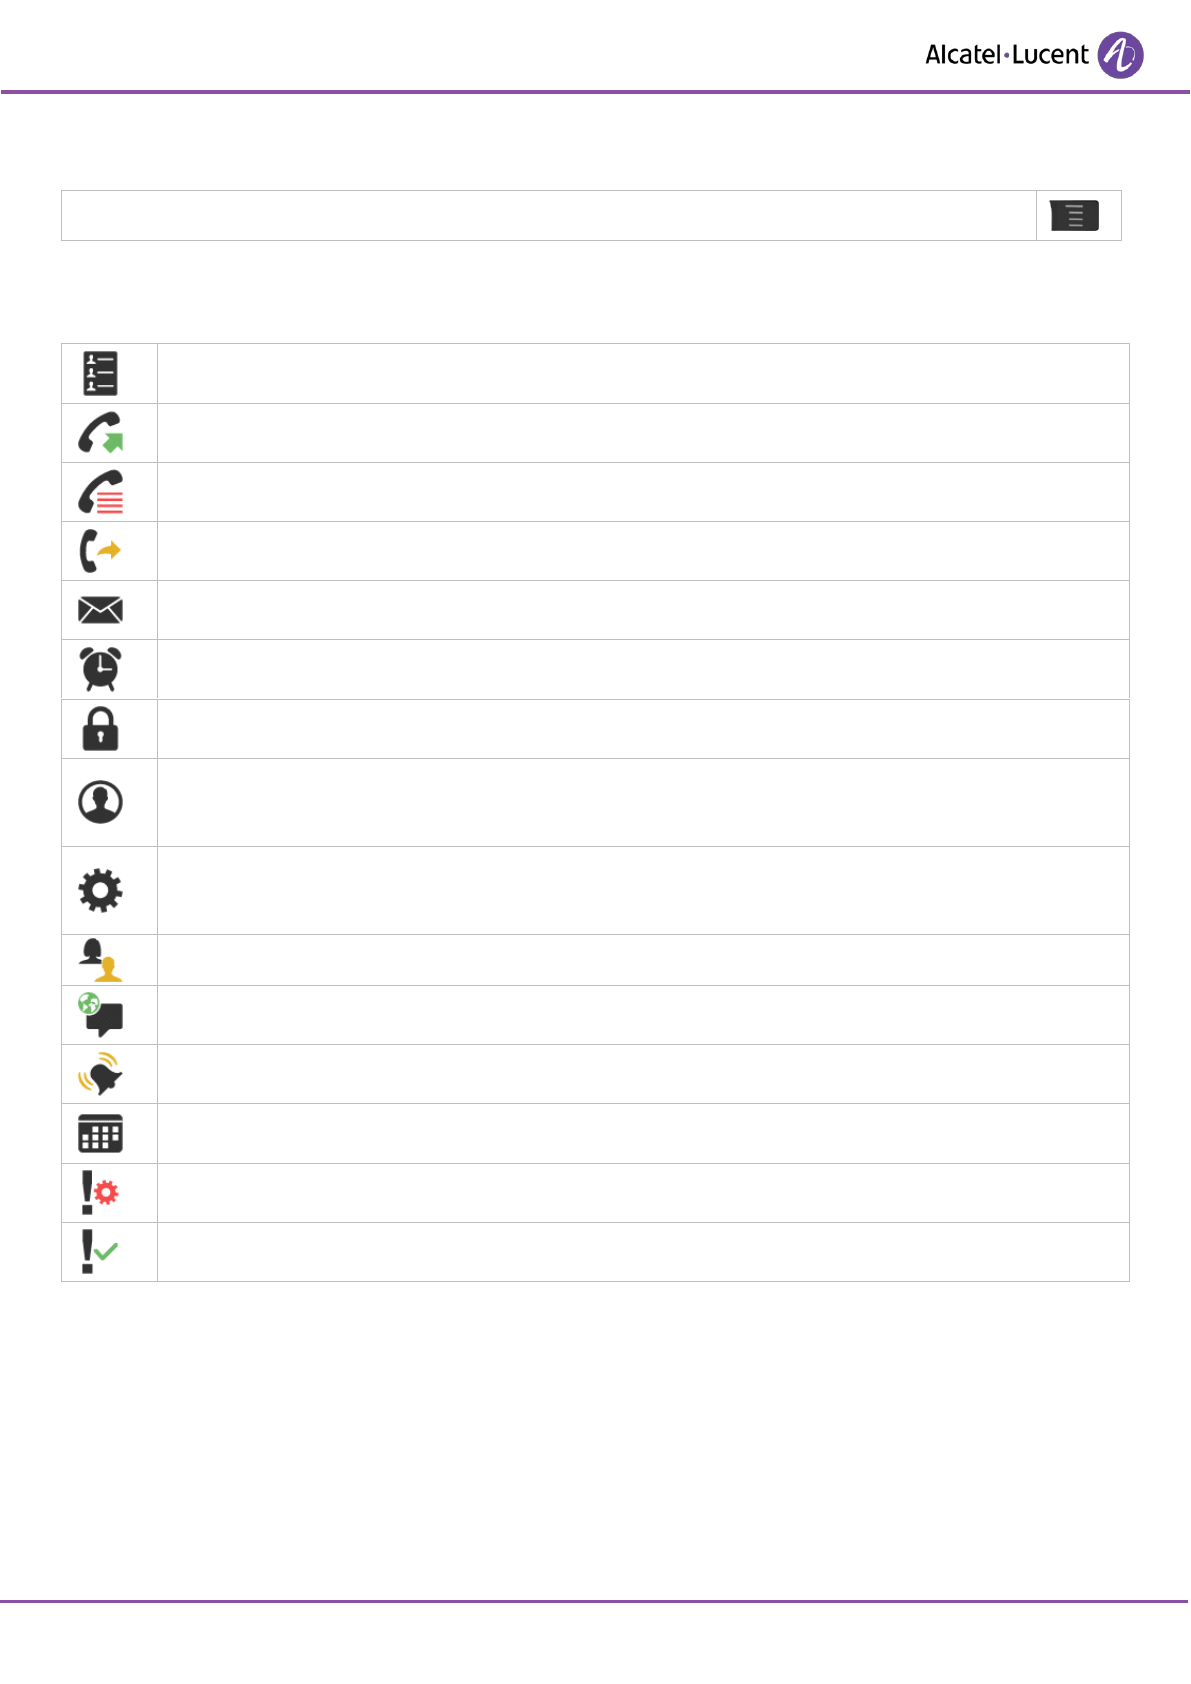
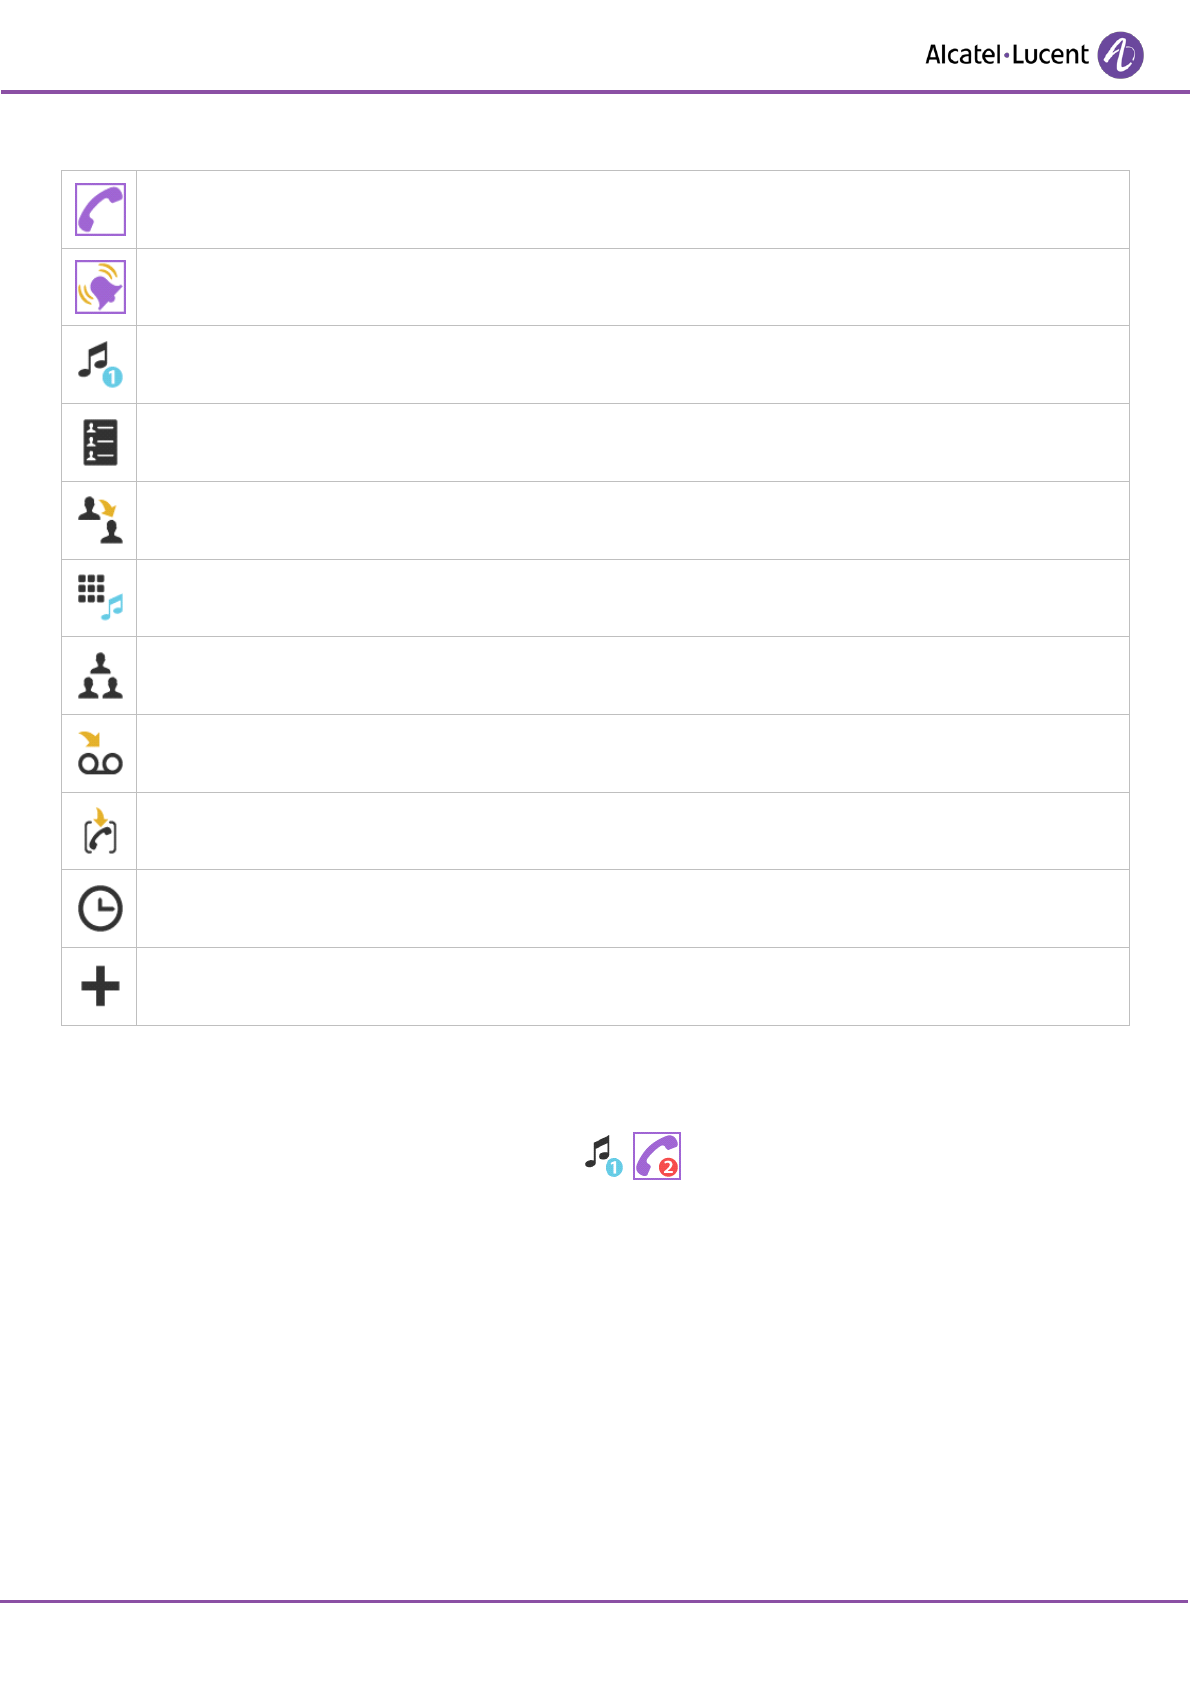
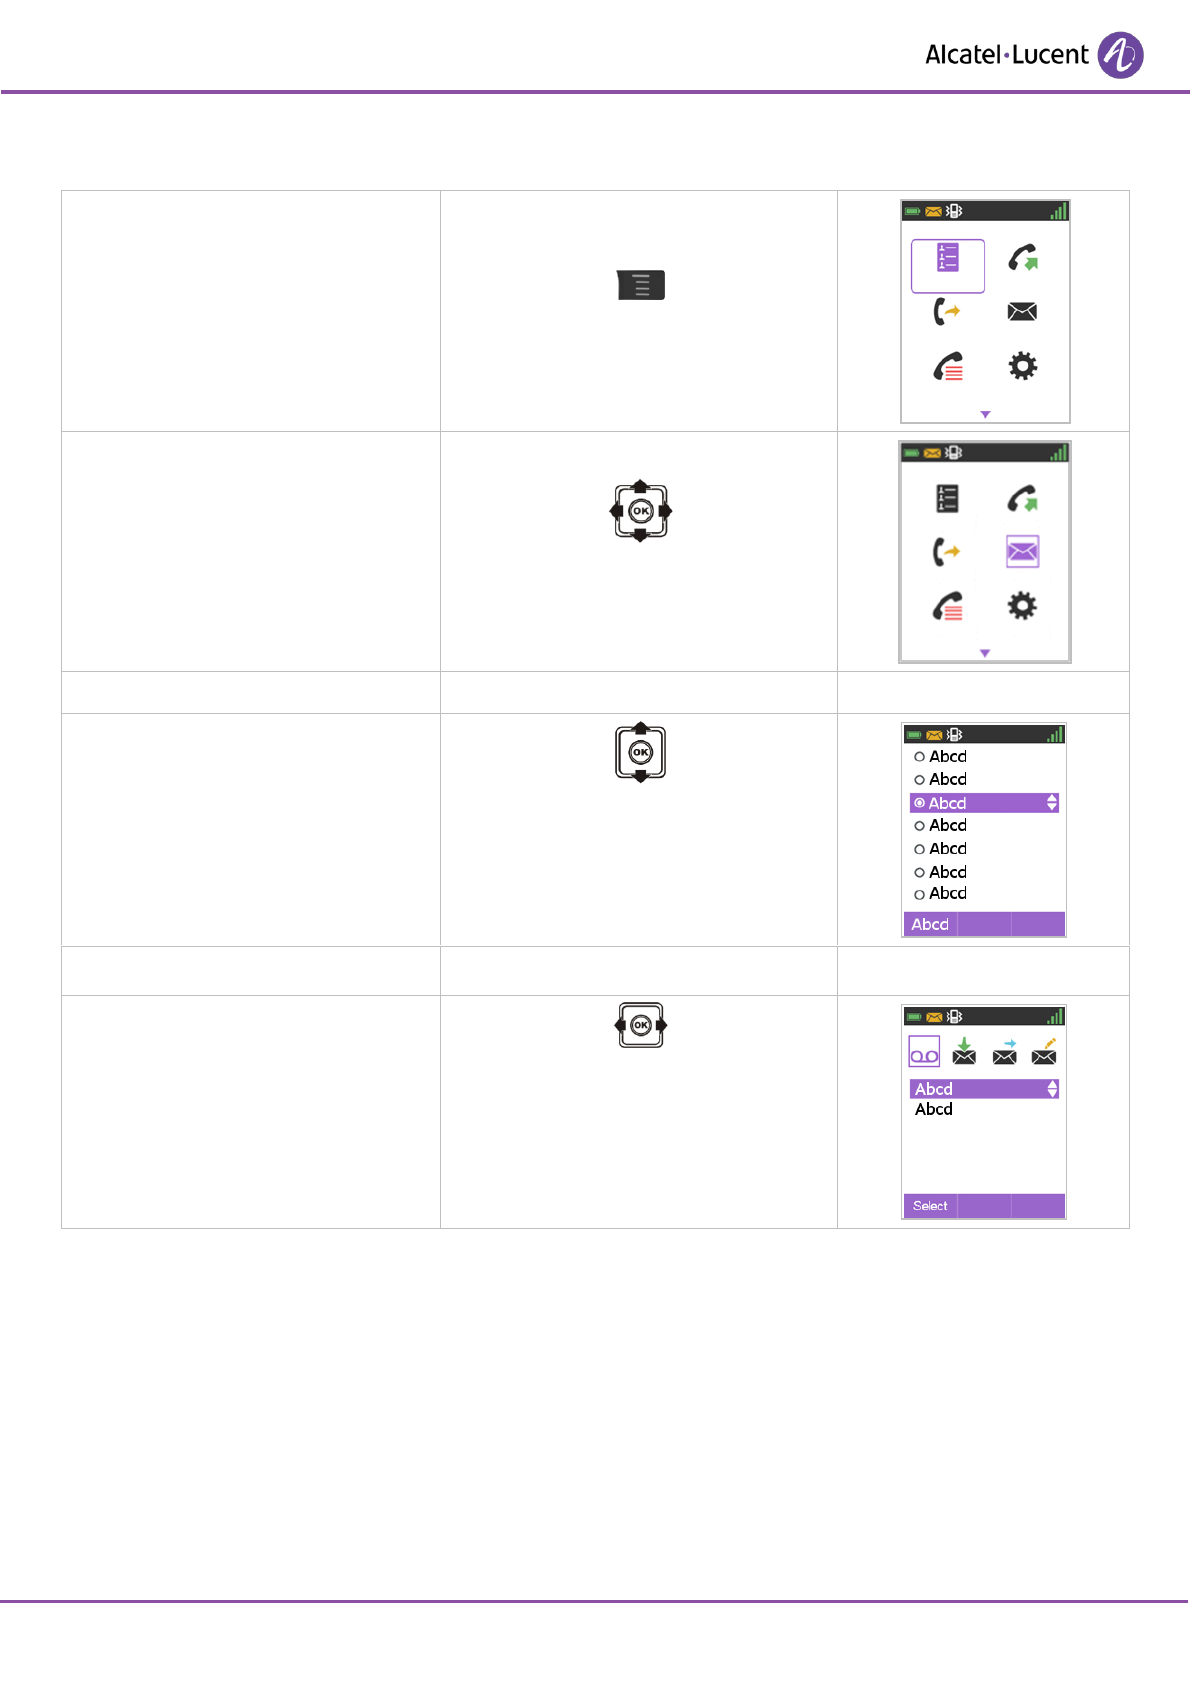
The labels and icons presented in this document are not contractually binding and may be modified without
prior warning. The labels and icons displayed on your phone depend on the system to which you are
connected and may differ from those specified in this document.