13
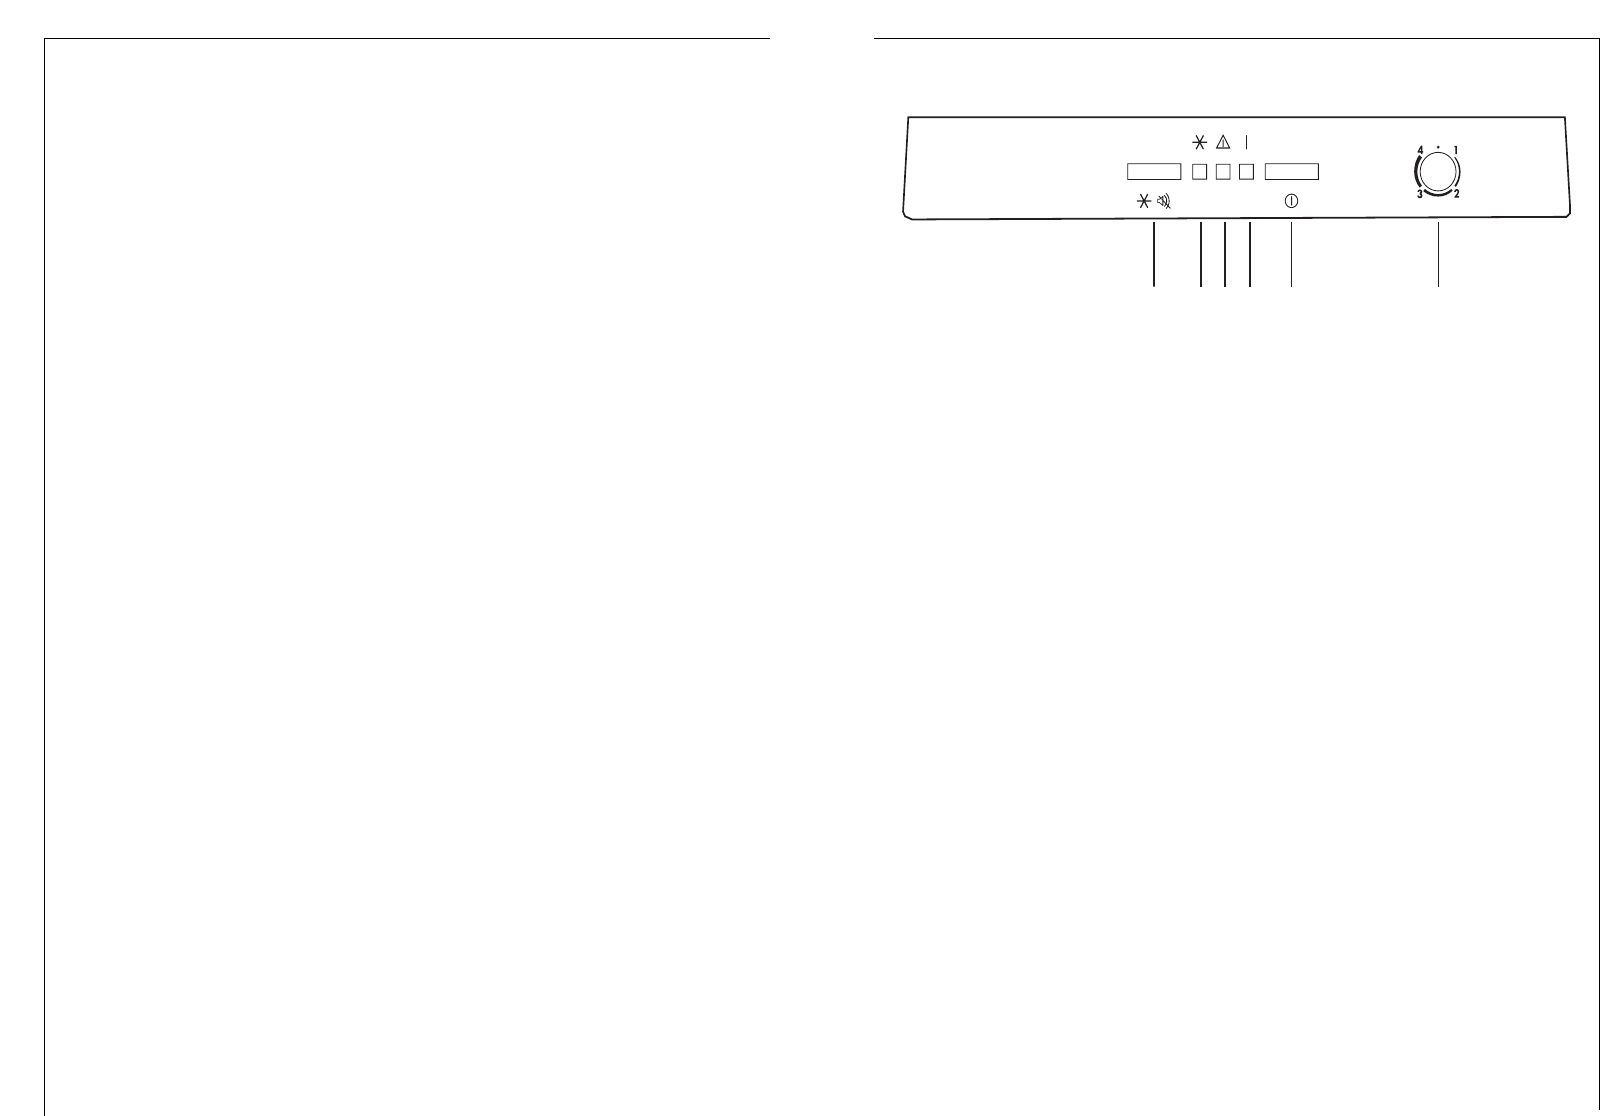
Bedienings- en kontroleinrichting
A. Snelinvriesschakelaar / Akoestisch temperatuursignaal
B. Aanwijzing voor snel invriezen (geel)
C. Waarschuwingslampje (rood)
D. Lichtnetcontrolelampje (groen)
E. Schakelaar AAN/UIT
F. Temperatuurregelaar
De bedienings- en kontrole-inrichting omvat:
Het groene kontrolelampje (D) brandt als het toestel aan netspanning aan-
gesloten een het Schakelaar AAN/UIT gedrulen worden.
Met de temperatuurregelaar (F) kan de energiezuinigste bewaartempera-
tuur traploos worden ingesteld.
De optimale bewaartemperatuur is -18°C. Op de thermometer kunt u de
temperatuur kontroleren.
Snelvriesschakelaar (A) met geel kontrolelampje (B).Het gele lampje
brandt als de schakelaar (A) is ingeschakeld. Het aggregaat werkt dan kon-
tinu.
Het rood lampje (C) brandt als:
– bij in gebruik nemen van het toestel, als de bewaartemperatuur nog niet
bereikt is
– als de temperatuur niet laag genoeg meer is (storing)
– als grote hoeveelheden nog in te vriezen levensmiddelen in de kast wor-
den gelegd
– als de deur van het toestel te lang open staat.
Attentie: als u de snelvriesschakelaar inschakelt of de temperatuurregelaar
verstelt, kan het voorkomen dat het koelaggregaat van uw diepvrieskast
niet onmidddellijk, maar pas na enige tijd begint te werken. In dit geval is
er geen sprake van een storing.
56
Messa in servizio e regolazione della temperatura
• Inserire la spina nella presa di corrente.
• Premere l’interruttore Acceso/Spento (E) , la luce spia verde (D) si
accende, l’apparecchiatura é in tensione.
• Girare in senso orario oltre la posizione “0” la manoploa termostato (F)
• La lampada spia rossa (C) si accende, lsi sente l’alarme sonoro.
• Premere l’interruttore della congelazione rapida (A) verso. La luce spia
gialla (B) si accende, l’alarme sonoro si spegne..
• Quando la luce spia (C) si spegne, disattivare la congelazione rapida e
la luce spia gialla (B) si spegne.
Con la manopola termostato si imposta la temperatura di -18°C o tem-
peratura più fredda.
Posizione „0“ significa: stop.
Posizione „1“ significa: Massima temperatura interna (minor freddo).
Posizione „6“ significa: Minima temperatura interna (massimo freddo).
La temperatura interna dipende dai seguenti fattori:
– Temperatura d’ambiente;
– Quantità e temperatura dei alimenti conservati;
– frequenza e durata di apertura delle porte.
Avvertenza!
Controllare regolamente la temperatura di conservazione tramite il termo-
metro e la luce spia rossa (C).
Alarme sonoro
L’apparecchiatura é dotata di un’alarme sonoro. Quando la temperatura inter-
na é troppo elevata si sente l’alarme sonoro e la lampada spia si rossa si illumi-
na. L’alarme sonoro rimane in funzione fino a quando non si premere l’inter-
ruttore della congelazione rapida.
Congelazione e surgelazione
Il vostro congelatore é adatto sia per la conservazione i surgelati che per la
congelazione di cibi freschi.