7
CSMP750BT
2 Inhaltsverzeichnis
8.4.4 Ordner auswählen . . . . . . . . . . . . . . . . . . . . . . . . . . . . 26
8.4.5 Lautstärke einstellen . . . . . . . . . . . . . . . . . . . . . . . . . 26
8.4.6 Wiedergabepause . . . . . . . . . . . . . . . . . . . . . . . . . . . . 26
8.4.7 Titel kurz anspielen (Intro) . . . . . . . . . . . . . . . . . . 26
8.4.8 Titel wiederholen (Repeat) . . . . . . . . . . . . . . . . . 26
8.4.9 Zufallswiedergabe (Random) . . . . . . . . . . . . . . . 27
8.4.10 Titel direkt anwählen (Direct Access) . . . . . 27
8.4.11 Ordner- und Dateisuche . . . . . . . . . . . . . . . . . . . . 27
9 Einstellungen
9.1 Übersicht über die Menüs . . . . . . . . . . . . . . . . . . . . . . . . 28
9.2 Einstellungsmenü . . . . . . . . . . . . . . . . . . . . . . . . . . . . . . . . . . . 28
9.2.1 Stand By LCD . . . . . . . . . . . . . . . . . . . . . . . . . . . . . . . . . . 28
9.2.2 Personalisieren (Personalize) . . . . . . . . . . . . . . . . 28
9.2.3 Bildschirmschoner (Screen Saver) . . . . . . . . . 29
9.2.4 Personal Text Message (P.T.M) . . . . . . . . . . . . . 29
9.2.5 Kontrast (Contrast) . . . . . . . . . . . . . . . . . . . . . . . . . . . 29
9.2.6 Tastenfarbe (Key Color) . . . . . . . . . . . . . . . . . . . . . 29
9.2.7 Displayfarbe (LCD Color) . . . . . . . . . . . . . . . . . . . . 29
9.2.8 Display invertieren (LCD Mode) . . . . . . . . . . . 29
9.2.9 Displayhelligkeit (Dimmer) . . . . . . . . . . . . . . . . . . 29
9.2.10 Datum einstellen (Date Set) . . . . . . . . . . . . . . . . 29
9.2.11 Uhrzeit (Clock) . . . . . . . . . . . . . . . . . . . . . . . . . . . . . . . . 29
9.2.12 Uhrzeitformat (Time Format) . . . . . . . . . . . . . . 30
9.2.13 Signalstärke der Sender (Local/Distant) . . 30
9.2.14 Frequenzbereich (Area) . . . . . . . . . . . . . . . . . . . . . . 30
9.2.15 Sendersuchlauf (Auto Seek RDS/ALL) . . . . 30
9.2.16 Sendersuche (TA Seek) . . . . . . . . . . . . . . . . . . . . . . 30
9.2.17 TA Lautstärke (TA Volume) . . . . . . . . . . . . . . . . . 30
9.2.18 Region . . . . . . . . . . . . . . . . . . . . . . . . . . . . . . . . . . . . . . . . . . 30
9.3 Audiomenü . . . . . . . . . . . . . . . . . . . . . . . . . . . . . . . . . . . . . . . . . . 31
9.3.1 2-Zone (Dual Zone) . . . . . . . . . . . . . . . . . . . . . . . . . . 31
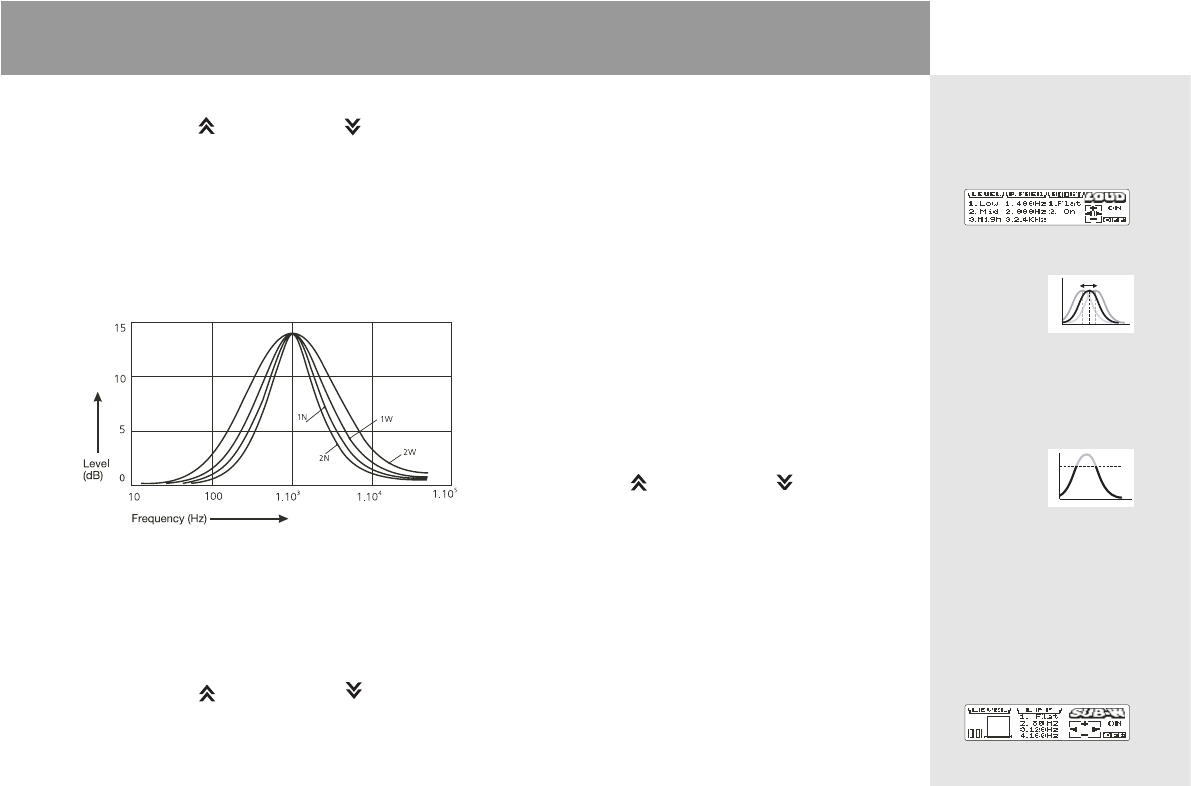
9.3.2 Bass . . . . . . . . . . . . . . . . . . . . . . . . . . . . . . . . . . . . . . . . . . . . . . 32
9.3.3 Mitten (Middle) . . . . . . . . . . . . . . . . . . . . . . . . . . . . . . . 32
9.3.4 Höhen (Treble) . . . . . . . . . . . . . . . . . . . . . . . . . . . . . . . . 33
9.3.5 Loudness (Loud) . . . . . . . . . . . . . . . . . . . . . . . . . . . . . . 33
9.3.6 Subwoofer (Sub-w) . . . . . . . . . . . . . . . . . . . . . . . . . . 33
9.3.7 3D Gain . . . . . . . . . . . . . . . . . . . . . . . . . . . . . . . . . . . . . . . . 35
9.3.8 Balance/Fader (Bal/Fad) . . . . . . . . . . . . . . . . . . . . . 35
9.3.9 Tastentöne (Beep Tone) . . . . . . . . . . . . . . . . . . . . . 35
10 Freisprech-Betrieb
10.1 Bluetooth Freisprecheinrichtung . . . . . . . . . . . . . . . . 35
10.1.1
Informationen zur Freisprecheinrichtung
. . 35
10.1.2 Technische Voraussetzungen . . . . . . . . . . . . . . . 35
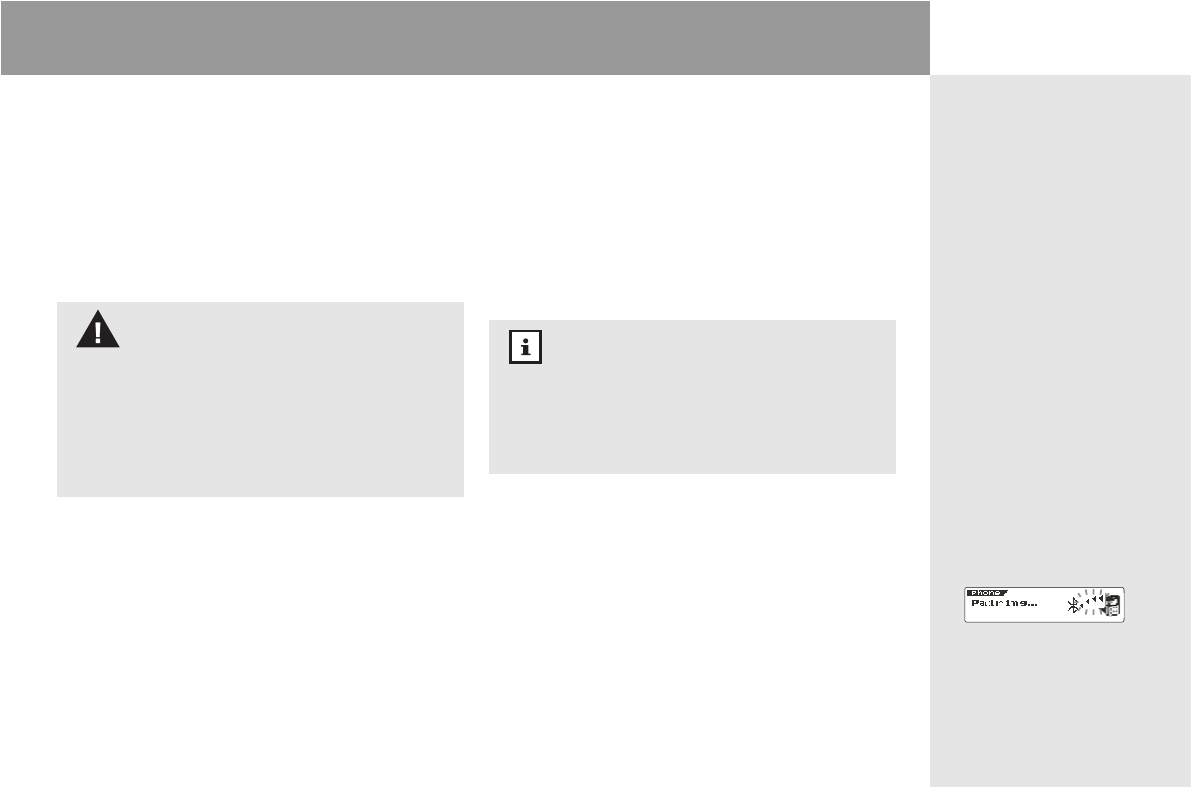
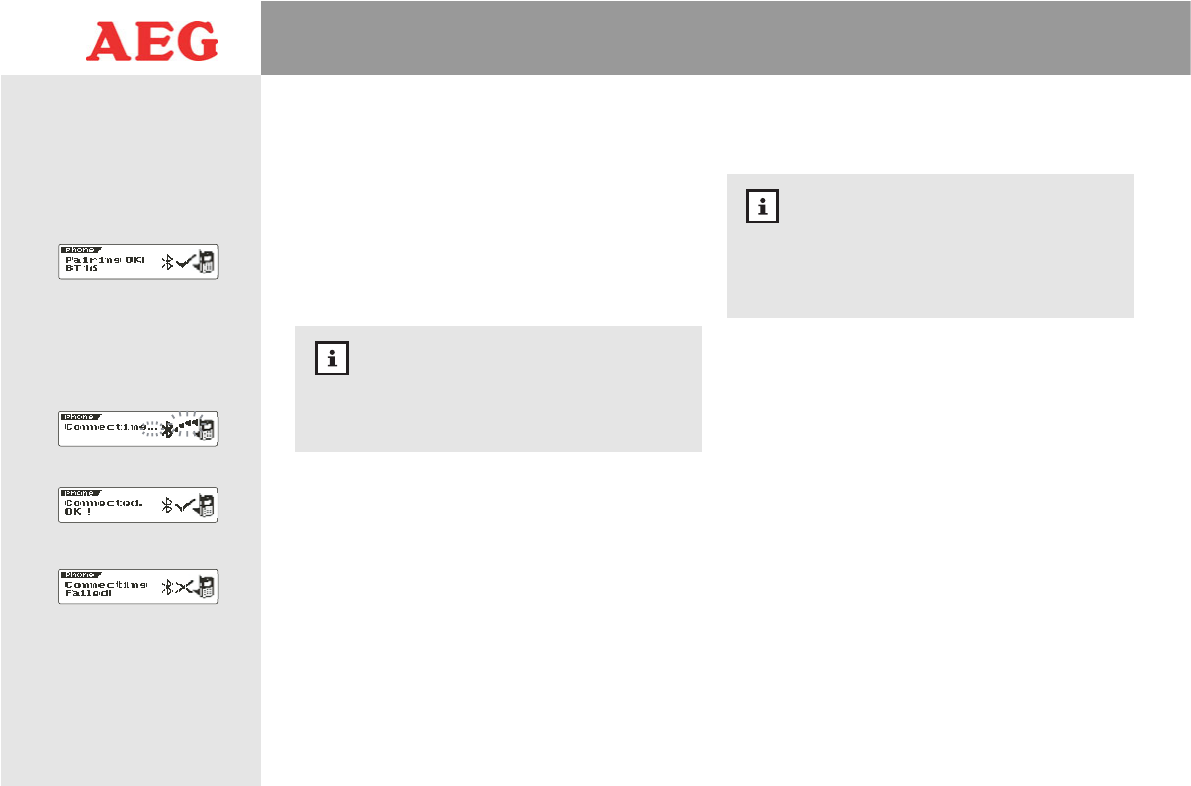
10.1.3 Pairing (Mobiltelefon registrieren) . . . . . . . . 35
10.1.4 Mobiltelefon automatisch verbinden . . . . . 36
10.1.5 Mobiltelefon manuell verbinden . . . . . . . . . . 36
10.1.6 Besonderheiten von Mobiltelefonen . . . . . 37
10.1.7 Verbindung trennen . . . . . . . . . . . . . . . . . . . . . . . . . 37
10.2 Gespräche führen . . . . . . . . . . . . . . . . . . . . . . . . . . . . . . . . . . 37
10.2.1 Anrufe entgegennehmen . . . . . . . . . . . . . . . . . . . 37
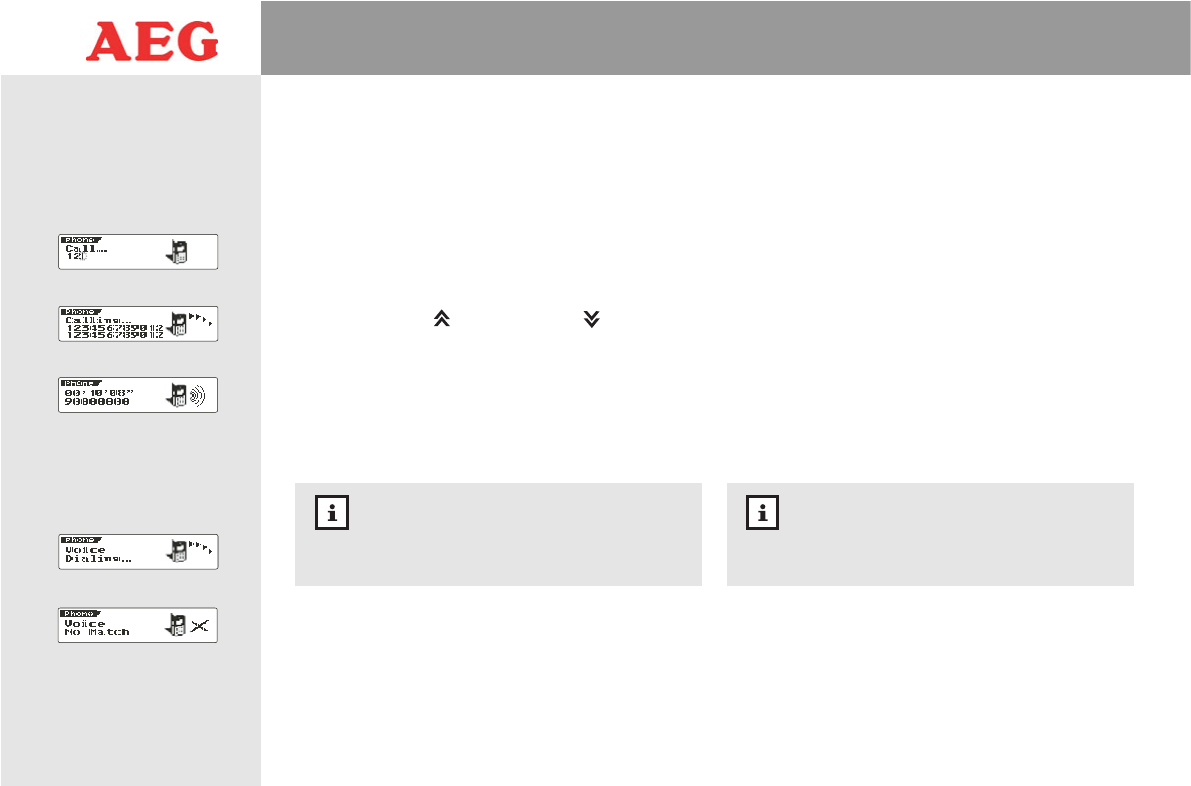
10.2.2 Anrufe tätigen . . . . . . . . . . . . . . . . . . . . . . . . . . . . . . . . 38
10.2.3 Sprachwahl (Voice Dialing) . . . . . . . . . . . . . . . . . 38
10.2.4 Zweiter Anrufer . . . . . . . . . . . . . . . . . . . . . . . . . . . . . . . 39
10.2.5 Gesprächsübergabe (Privat-Modus) . . . . . . 39
10.3 Telefonmenü . . . . . . . . . . . . . . . . . . . . . . . . . . . . . . . . . . . . . . . . 39
10.3.1 Wahlwiederholungsliste (Dialed List) . . . . . 40
10.3.2 Anrufliste (Received List) . . . . . . . . . . . . . . . . . . . . 40
10.3.3 Direktwahl (Speed Dial) . . . . . . . . . . . . . . . . . . . . . 40
10.3.4 Telefonbuch (Phone Book) . . . . . . . . . . . . . . . . . . 42
10.3.5 Autom. Rufannahme (Auto Answer) . . . . . 42
10.3.6 Klingeltonlautstärke (Ring Volume) . . . . . . . 42
10.3.7 Optische Anrufsignalisierung (Blinking) . . 42
11 Fehlerbehebung
. . . . . . . . . . . . . . . . . . . . . . . . . . . . . . . . . . . . . . . 43
12 Werkseinstellungen
12.1 Einstellungsmenü . . . . . . . . . . . . . . . . . . . . . . . . . . . . . . . . . . . 45
12.2 Audiomenü . . . . . . . . . . . . . . . . . . . . . . . . . . . . . . . . . . . . . . . . . . 46
12.3 Telefonmenü . . . . . . . . . . . . . . . . . . . . . . . . . . . . . . . . . . . . . . . . 46
13 Technische Daten
. . . . . . . . . . . . . . . . . . . . . . . . . . . . . . . . . . . . . . 49