30
English
Unpacking the device
Unpack the device.
Remove all packaging materials such as
foils, lling material, cable ties and cardboard
packaging.
Check the scope of delivery.
Note:
There might be particles or production remains
on the device. We recommend you wipe the
enclosure with a damp cloth.
Installation
Please observe the gure.
Remove the grid (2) and the heating element
(5).
Remove all packaging materials.
Clean the grid and the reector (4) with a
damp cloth.
Put the reector plate into the grill base.
Pour 2 l of cold water into the grill base, as to
cover the plate.
You will nd a “MIN“ / “MAX“ marking inside
the grill base on the rear wall.
Caution:
Fill with water until above the reector plate.
The water bath and the plate will prevent
excessive radiated heat near the base of the
device. Therefore always barbecue using
water and the tted reector plate.
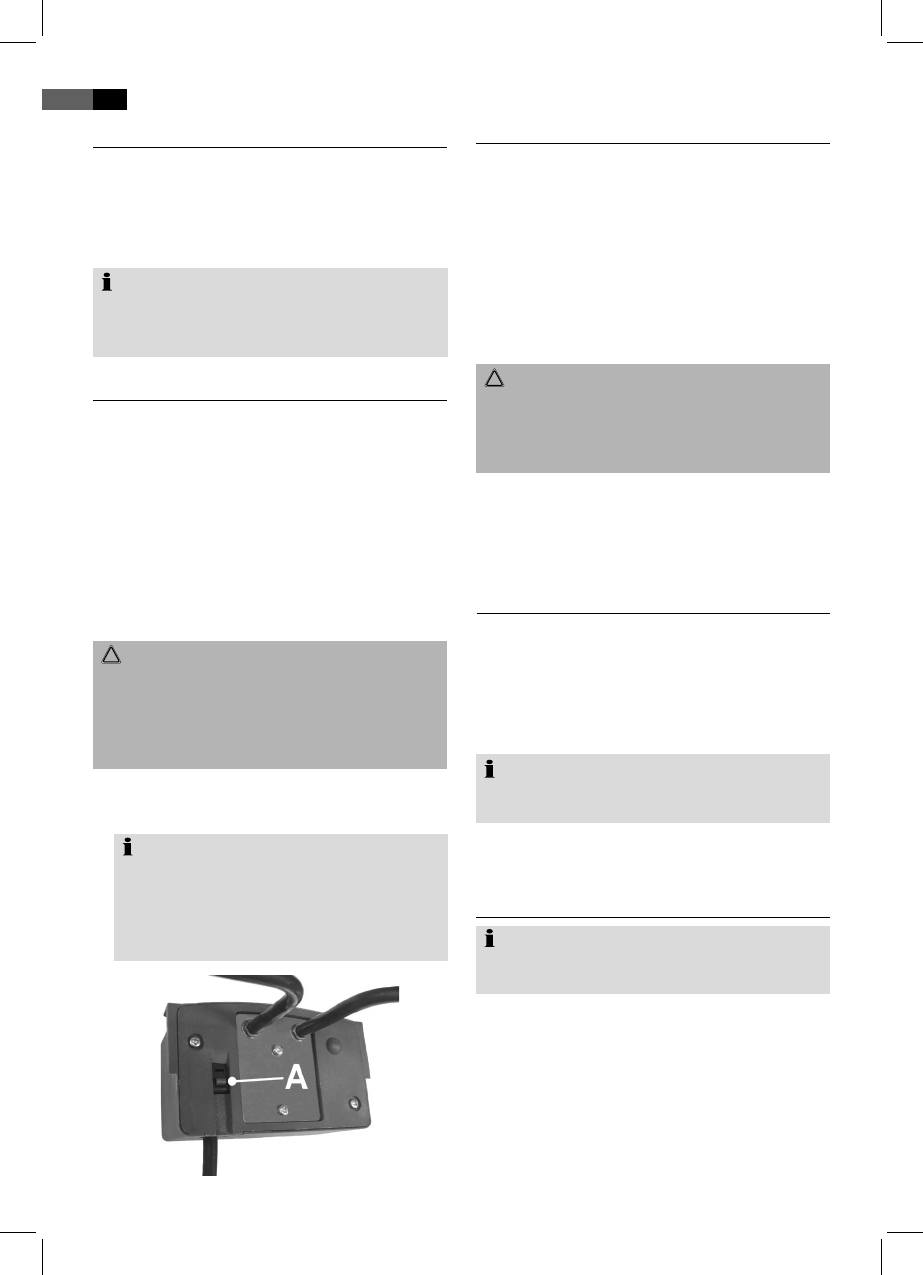
Attach the heating element with the thermostat
(5) to the grill base.
Note:
The thermostat is equipped with a safety
switch (A). It prevents the operation of the
heating element outside of the grill base.
Check the correct tting of the thermostat in
the grill base.
•
•
•
•
•
•
•
•
►
•
Electric installation
Be sure the voltage of the device (rating plate)
is in accordance with the mains voltage.
Connect the mains plug to a properly installed
shockproof socket (230V~ 50Hz) only.
Connected load
The device is intended for a maximum power
intake of 2000 W. This connected load recom-
mends a separate input lead secured with a
16 amp protected switch.
Caution Overload:
When using extension cords, these should
have a cable cross-section of at least 1.5 mm².
Do not use gang plugs, because the device
is too powerful.
The device must be supplied by a residual-cur-
rent-operated protective device (RCD) with a
release current of maximum 30mA.
Please consult a qualied electrician.
Prior rst-time operation
Operate the device without barbecue for 15
minutes whilst grill base is lled with water.
Turn the temperature control on the thermostat
to the highest position.
The protective foil on the heating element will
be removed.
Note:
Slight formation of smoke is thereby normal.
Ensure sufcient ventilation.
Your appliance is now ready for use.
Operating your device
Note:
For efcient heat utilization attach the wind
deector (1).
Pour 2 l of cold water into the grill base until
reaching the “MAX” level.
Preheat the operable device for about 5
minutes prior use.
Set the temperature control according to the
intended use:
Low or middle settings for keeping warm or
cooking, highest setting for fast cooking or bar-
becuing. The indicator light (6) indicates the
•
•
►
►
•
•
•
•
•
•