Adobe Premiere Elements 9 guide
© 2010 Adobe Systems Incorporated How to import video 1
How to import video
There are four basic methods for adding media to your projects: capturing from tape or live sources, importing files
from other types of storage, adding from the Organize workspace, or recording narrations from a microphone.
When you add media files to your project, they are added to the Project view and the Organize workspace. Each file
is represented by a thumbnail, called a clip. Clips, whether they contain audio, video, or still images, are the building
blocks of your movies.
Common sources of media files
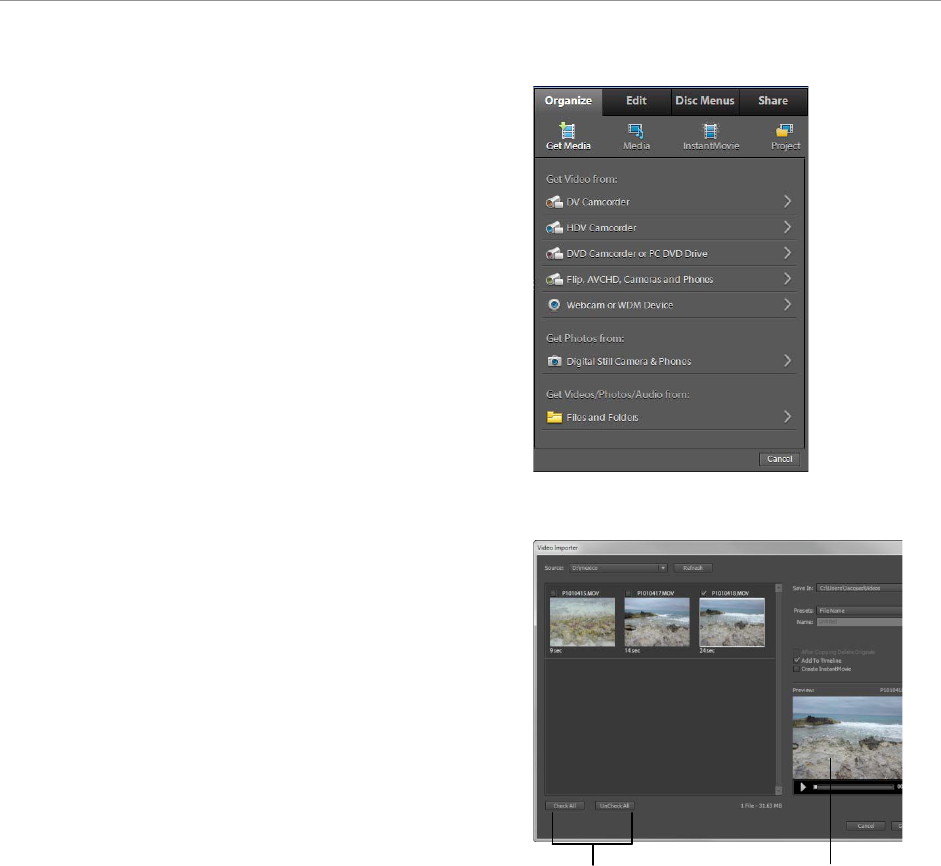
To get new media into your project, click Organize in the Tasks panel, and then click Get Media. Use any of the
following options to add media:
• DV Camcorder Captures video from a DV camcorder connected by FireWire (IEEE 1394) or USB. This
option opens the Capture window.
• HDV Camcorder Captures video from an HDV camcorder connected by FireWire (IEEE 1394). This
option opens the Capture window.
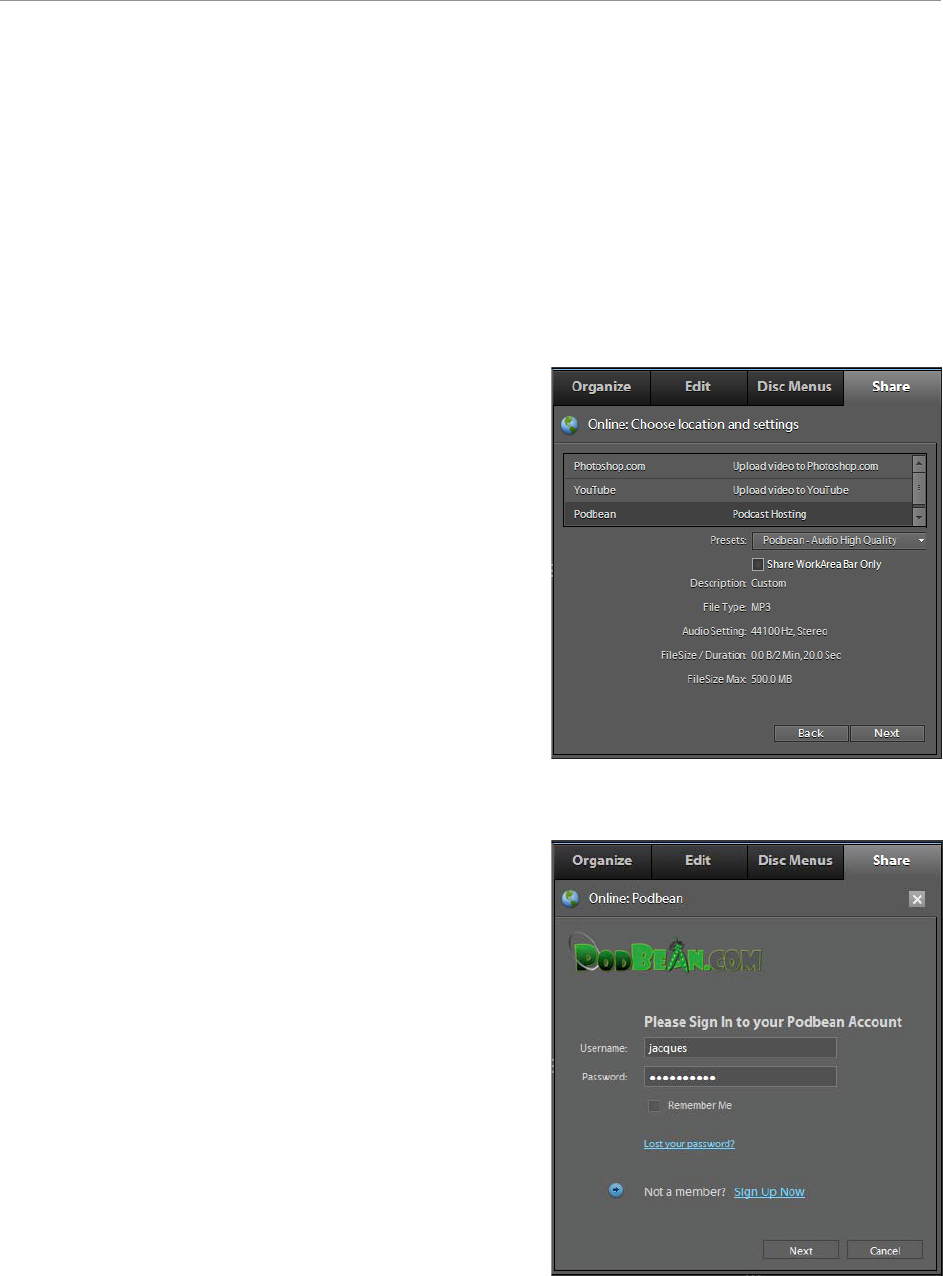
• DVD Camcorder Or PC DVD Drive Imports video from your DVD drive, or a DVD in a camcorder
connected by USB. You can import AVCHD from a DVD Camcorder. This option opens the Video
Importer dialog box.
• Flip™, AVCHD, Cameras And Phones Imports media from devices that store video files in flash memory
or on a disk. Such devices include Flip and other compact video cameras, AVCHD, DVD, DSLR, and other
still cameras and mobile phones.
• Webcam Or WDM Device (Webcam in Mac OS)Captures video from a webcam or WDM-compatible
capture device. This option opens the Capture window.
• Digital Still Camera & Phones Imports photos from a still camera or mobile phone connected by USB.
This option opens the Video Importer dialog box.
• Files And Folders Imports video files, photos, and audio files from your computer’s hard drive.
File types you can import
Your choice of footage to include in your movie is not limited to the clips you capture. You can use other image,
video, and audio files that reside on your computer. You only need to add them to your Adobe Premiere Elements
project to begin working with them. In some cases, added files can retain a link to the Adobe application in which
they were created. This allows you to open the file’s original application from within Adobe Premiere Elements,
make changes, and immediately see the results in Adobe Premiere Elements.
Except as noted, you can import the following file types by using the Get Media view in the Tasks panel. Added
files are visible in the Project view in the Tasks panel.
Video file types
• AVI Movie (.avi)
• Flash (.swf)
• RAW (.raw)
• Filmstrip (.flm)
• MPEG Movie (.mpeg, .vob, .mod, .mpe, .mpg, .m2v, .mp2, .mpv, .m2p, .m2t)
• Windows Media (.wmv, .asf)